Nimila

Embark on a Microgreen Adventure: From Seed to Salad in Your Kitchen
Imagine transforming your kitchen countertop into a miniature farm, bursting with vibrant, nutritious greens ready to elevate your meals. That’s the magic of microgreens! These tiny seedlings, harvested just days after germination, pack a powerful punch of flavor and nutrients, far exceeding their mature counterparts. And with a microgreen growing kit, anyone – regardless of gardening experience – can cultivate these culinary gems at home.

This comprehensive guide dives deep into the world of microgreen growing kits, exploring everything you need to know to get started, from selecting the perfect kit to troubleshooting common issues and maximizing your harvest. Get ready to ditch those expensive, pre-packaged greens and embrace the joy of growing your own fresh, flavorful microgreens!
Why Microgreens? A Nutritional Powerhouse on Your Plate
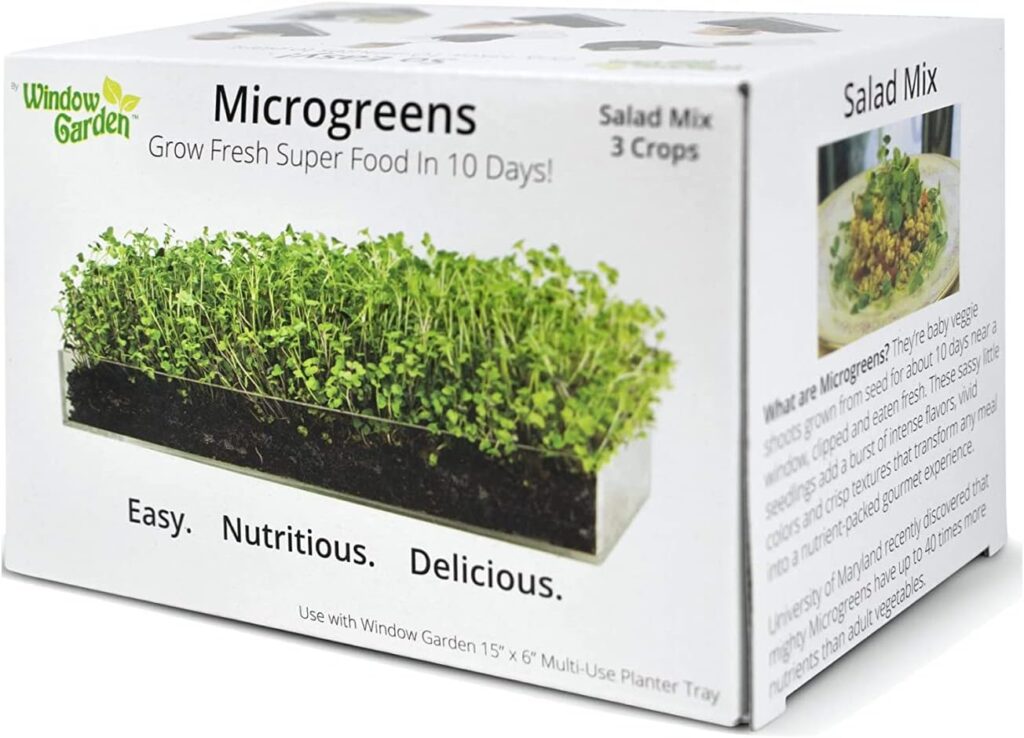
Before we delve into the specifics of growing kits, let’s appreciate why microgreens have become such a culinary and health sensation. These miniature vegetables are packed with vitamins, minerals, and antioxidants, often containing significantly higher concentrations than their mature counterparts. Studies have shown that microgreens can contain four to forty times more nutrients than mature leaves! Think of it as a superfood, conveniently grown in your own kitchen.
Beyond their nutritional value, microgreens offer a burst of flavor that can transform ordinary dishes into culinary masterpieces. From the peppery zest of radish microgreens to the sweet, earthy notes of pea shoots, the diverse range of flavors adds depth and complexity to salads, sandwiches, soups, and countless other dishes.
Health Benefits Galore: A Tiny Seedling with a Big Impact
- Rich in Vitamins and Minerals: Microgreens are abundant in essential vitamins like A, C, E, and K, as well as minerals like potassium, iron, and zinc.
- Antioxidant Powerhouse: They contain high levels of antioxidants, which protect your body against cellular damage caused by free radicals.
- Improved Digestion: The high fiber content in microgreens promotes healthy digestion and gut health.
- Potential Anti-Cancer Properties: Some studies suggest that certain microgreens may possess anti-cancer properties.
- Supports Eye Health: The presence of lutein and zeaxanthin in some microgreens contributes to healthy vision.
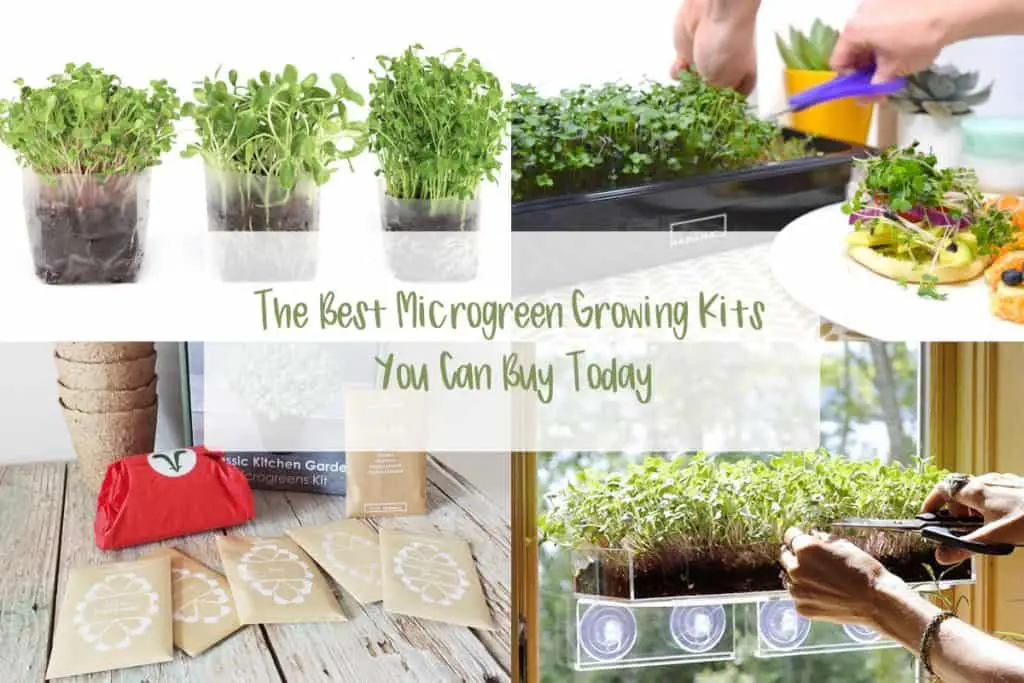
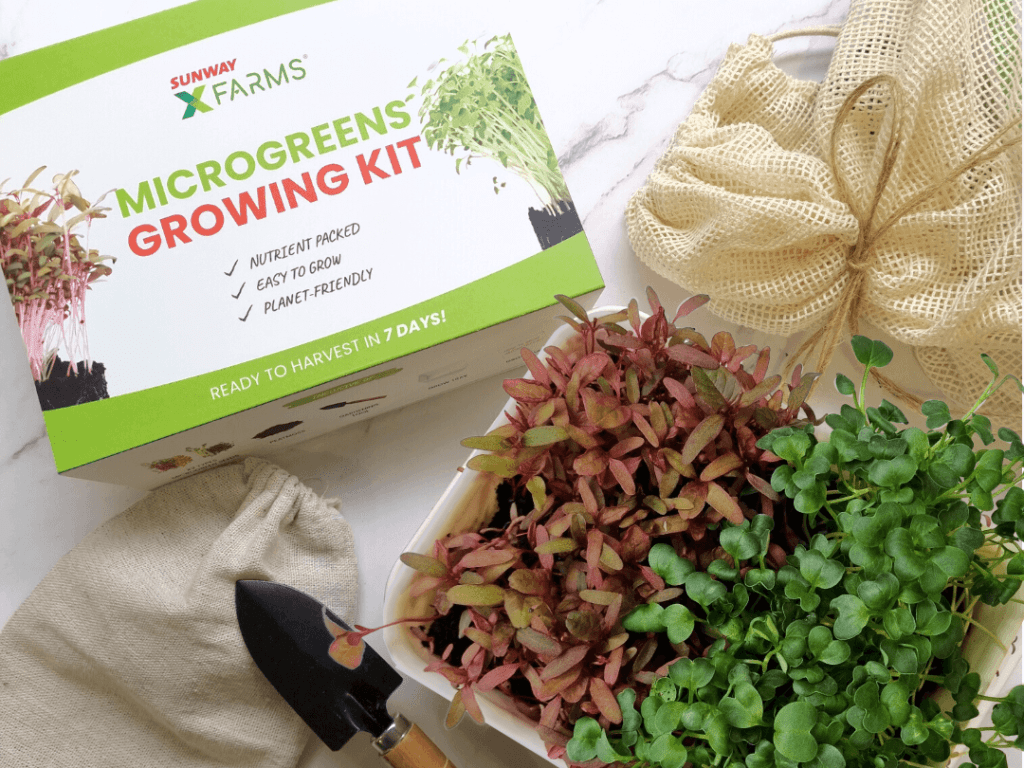
Choosing the Right Microgreen Growing Kit: A Beginner’s Guide
The market is flooded with various microgreen growing kits, each offering different features and benefits. Selecting the right kit can feel overwhelming, especially for beginners. Here’s a breakdown of the key factors to consider:
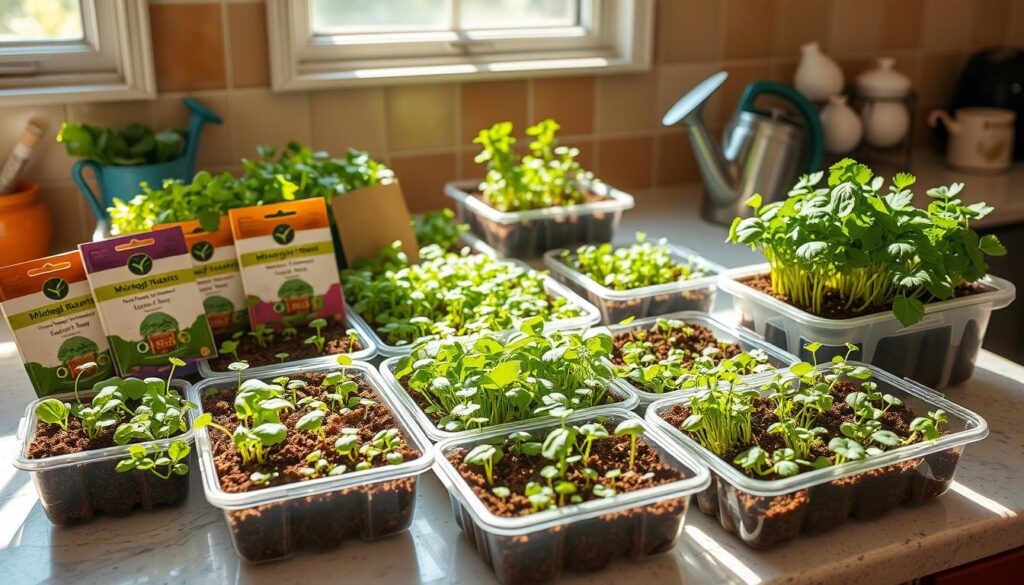
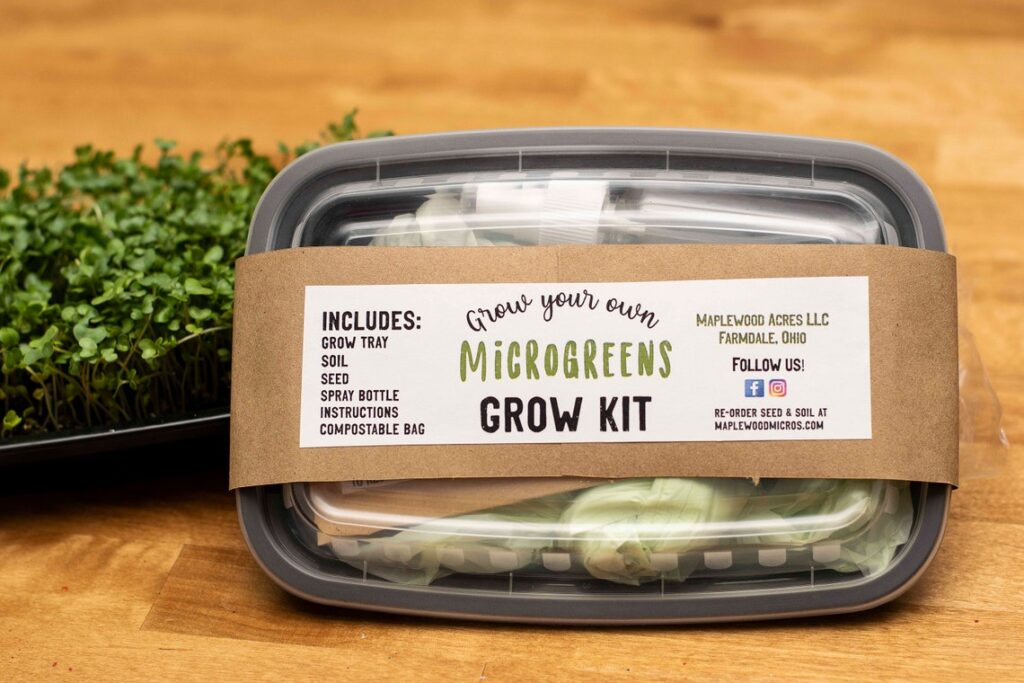
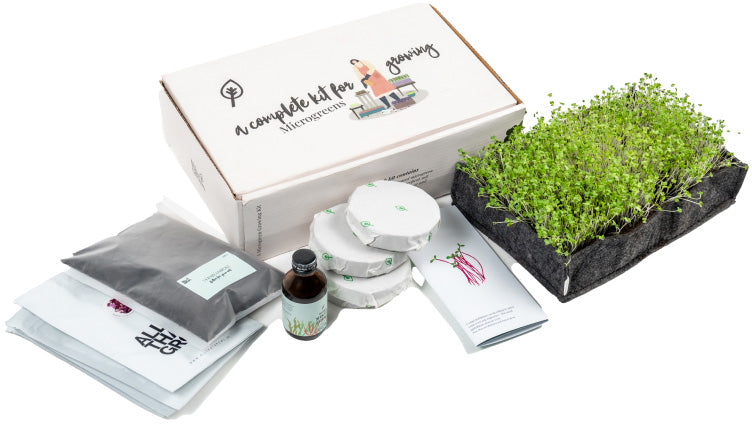
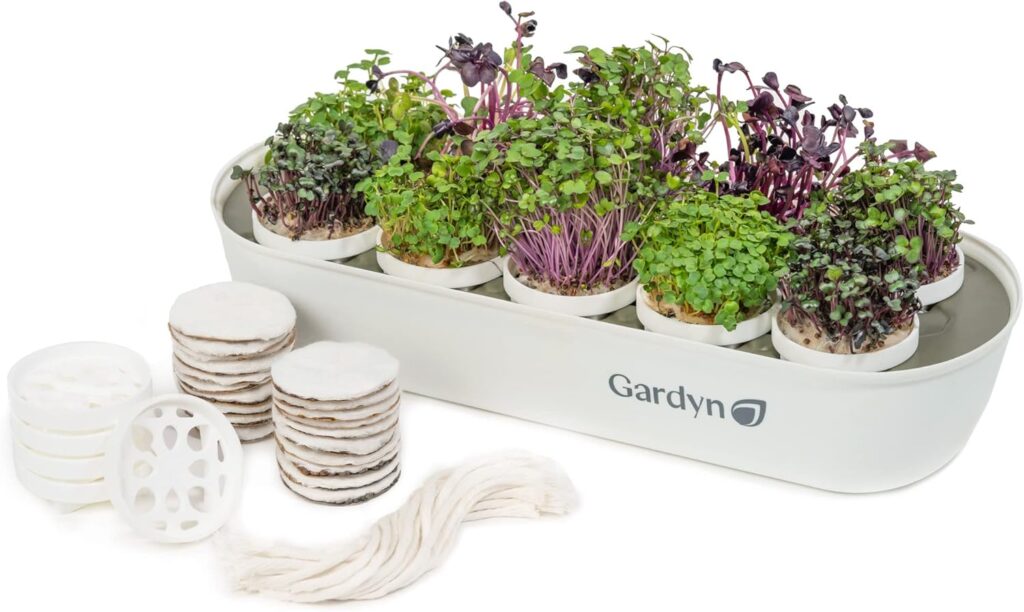
Kit Components: What’s Included?
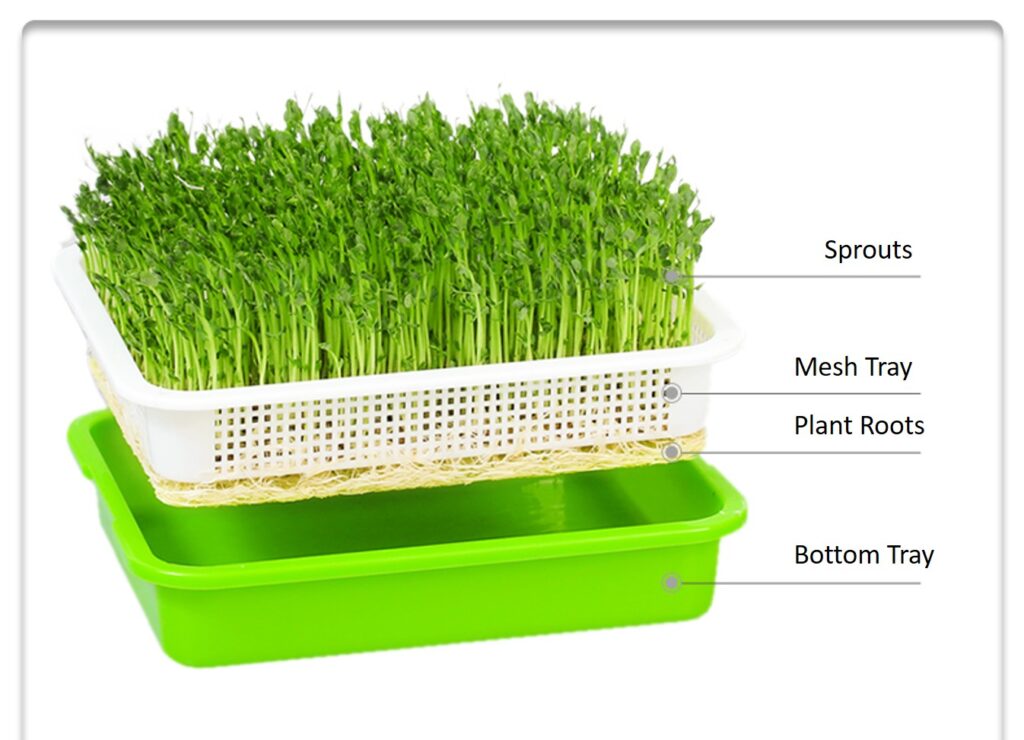
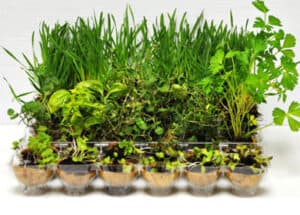
The essential components of a microgreen growing kit typically include:
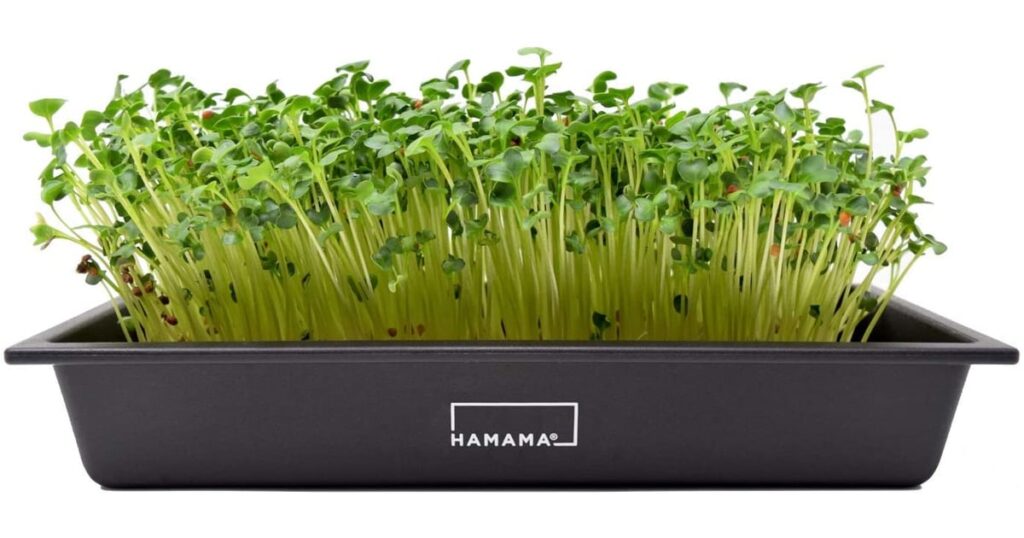
- Growing Trays: These trays hold the growing medium and provide drainage. Look for durable, food-grade plastic trays with good drainage holes.
- Growing Medium: Common options include soil, coco coir, hydroponic mats, and burlap. Each medium has its own pros and cons, which we’ll discuss later.
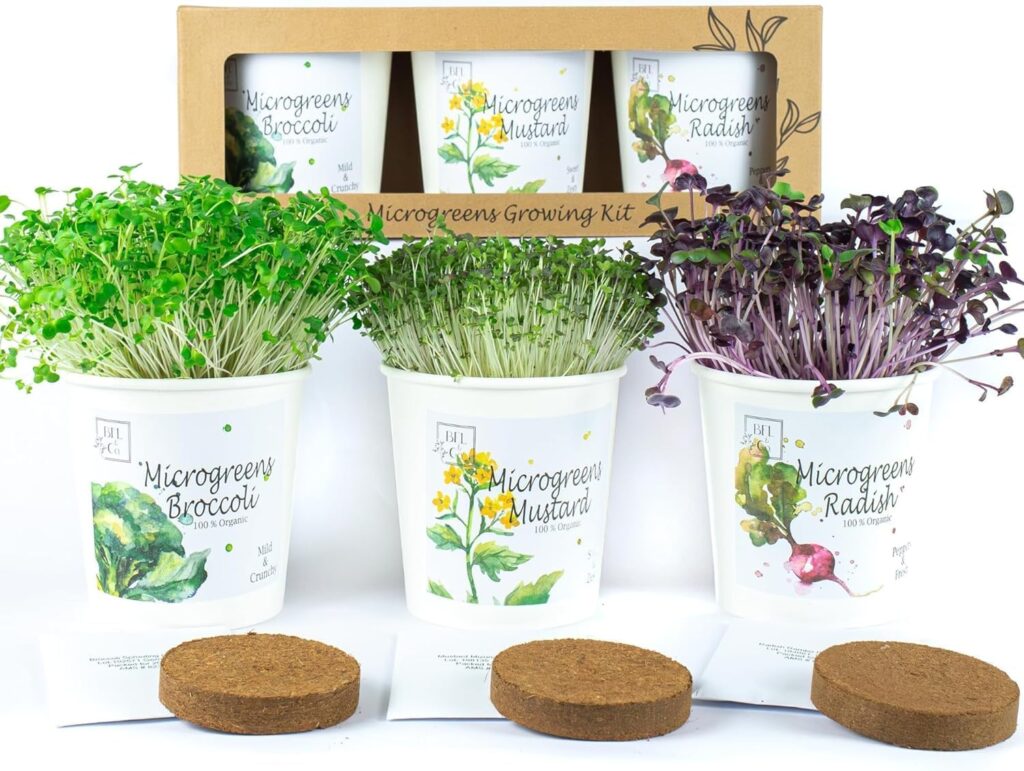
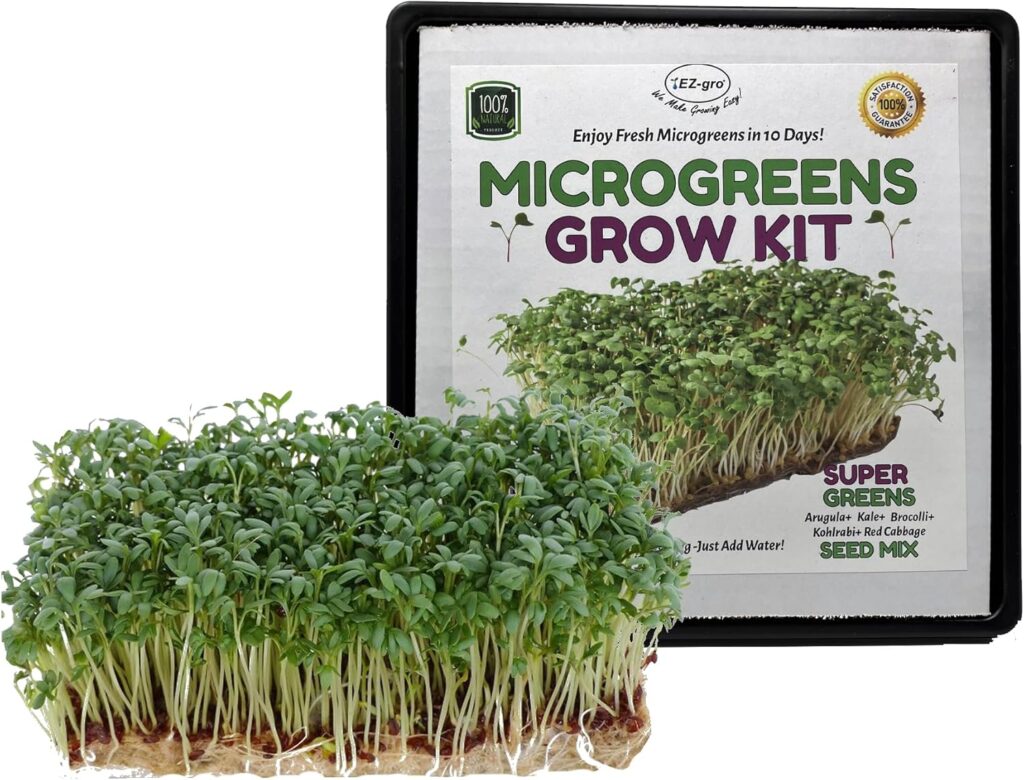
- Seeds: High-quality, non-GMO seeds are crucial for successful germination and healthy growth. The kit should include a variety of seed packets to get you started.
- Spray Bottle: A spray bottle is used to mist the seeds and seedlings, keeping them moist without overwatering.
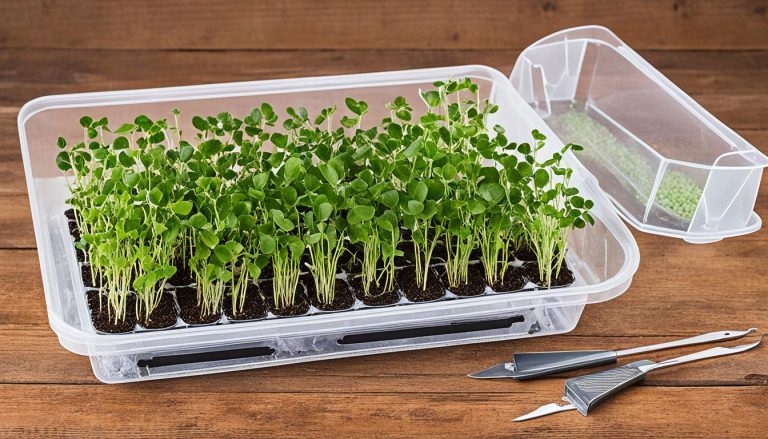
- Humidity Dome (Optional): A humidity dome helps to maintain a consistent level of moisture during the germination phase.
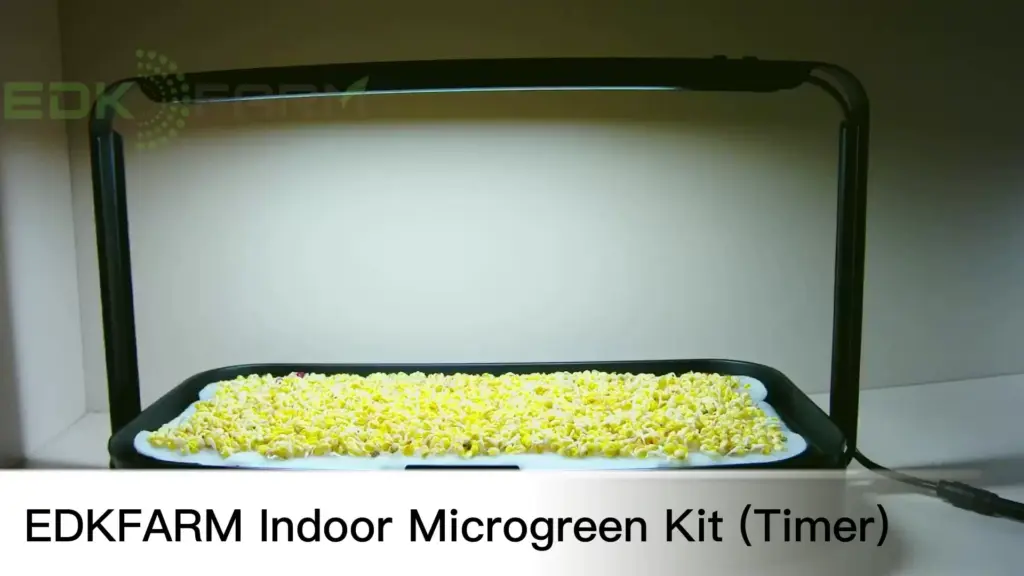
- Grow Lights (Optional): Grow lights provide supplemental lighting, especially during the winter months or in areas with limited sunlight.
- Instructions: A clear and concise instruction manual is essential for beginners.
Types of Microgreen Growing Kits: Finding the Perfect Fit
Microgreen growing kits can be broadly categorized based on their growing method:
- Soil-Based Kits: These kits utilize soil as the growing medium. Soil provides essential nutrients and support for the seedlings. They are generally more forgiving for beginners but require more attention to watering and drainage.
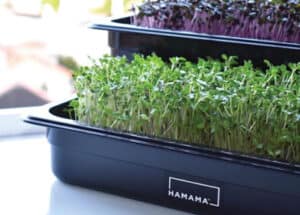
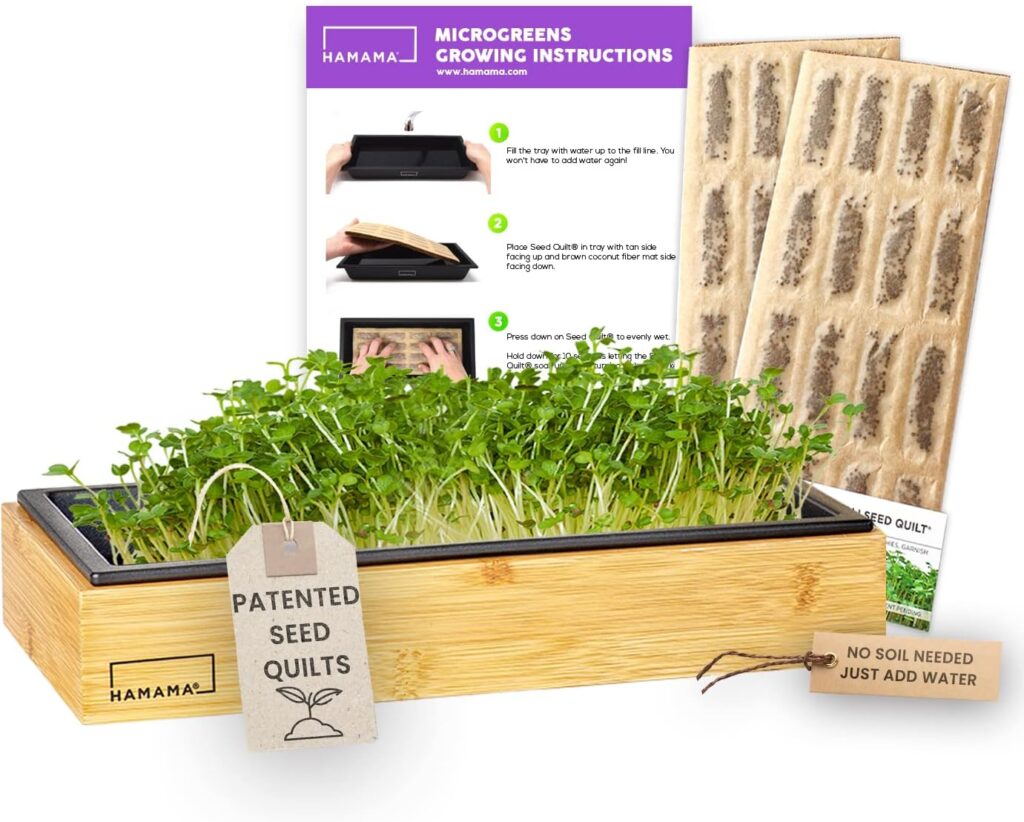
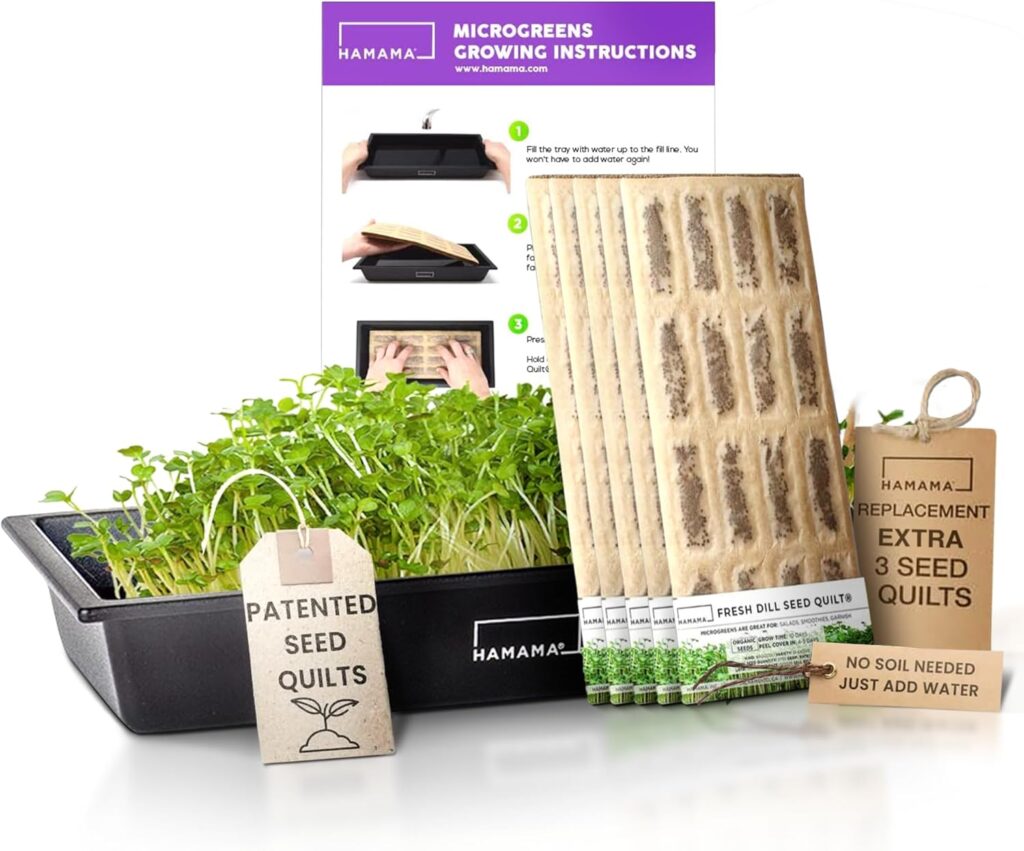
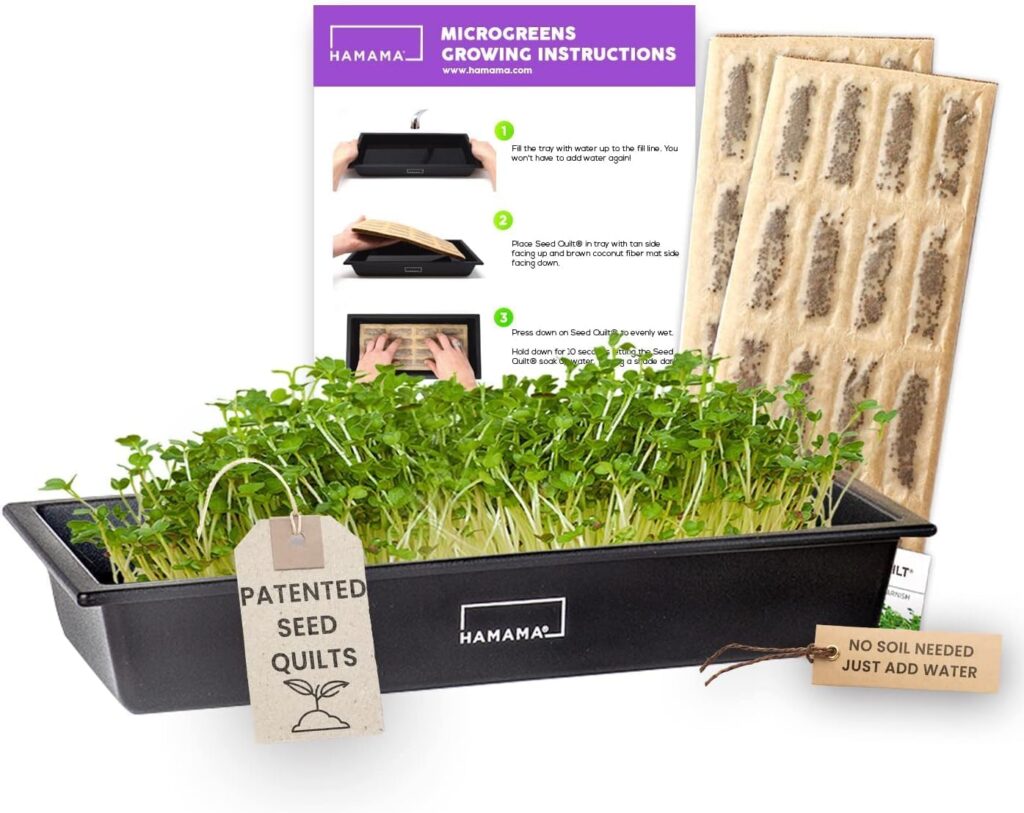
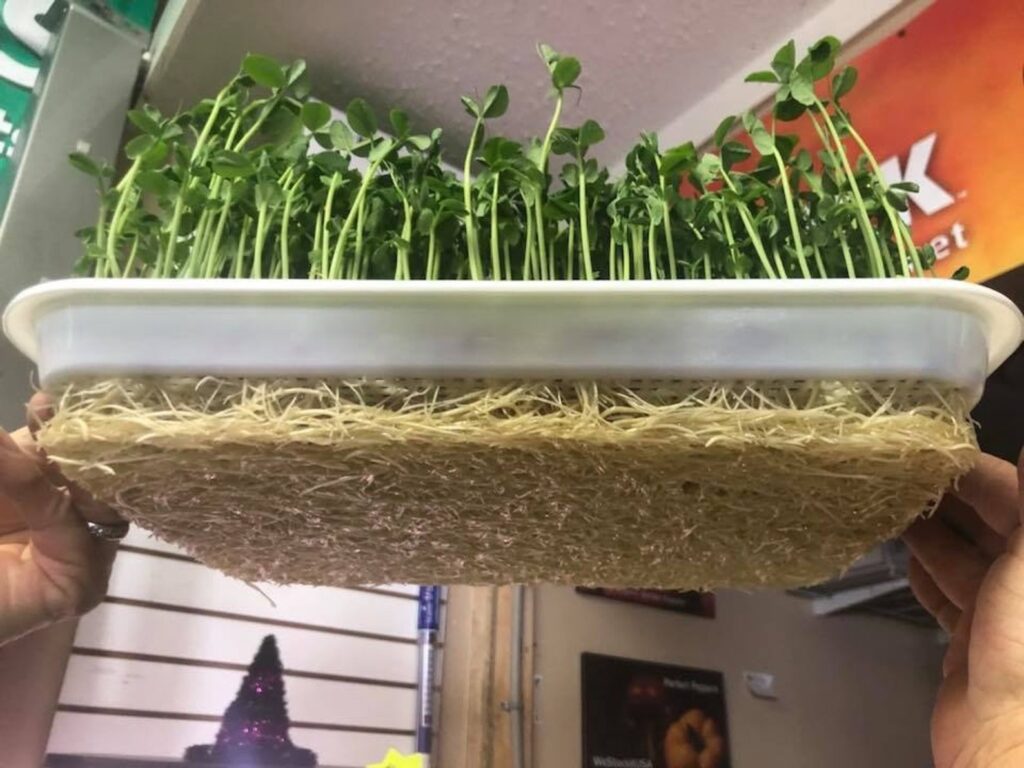
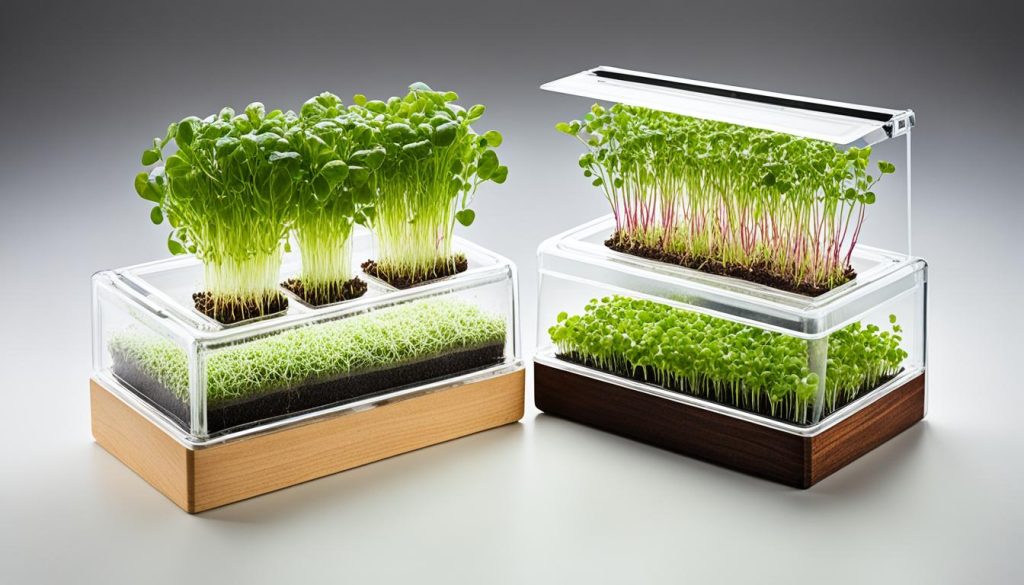
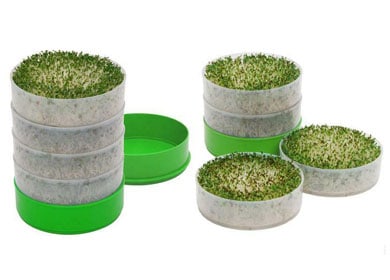
- Soilless Kits (Coco Coir, Hemp Fiber, Burlap): These kits employ soilless mediums like coco coir, hemp fiber mats, or burlap. Soilless mediums offer excellent drainage and aeration, reducing the risk of overwatering and mold growth. They are often preferred for their cleanliness and ease of use.
- Hydroponic Kits: Hydroponic kits use water and nutrient solutions to grow microgreens without soil. They require more technical knowledge and maintenance but can produce faster and more consistent results.
- Self-Watering Kits: These kits feature a reservoir that provides a consistent supply of water to the growing medium. They are ideal for busy individuals who may forget to water their microgreens regularly.
Size Matters: Choosing the Right Kit Size for Your Needs
Consider the amount of space you have available and the quantity of microgreens you want to produce when choosing a kit size. Smaller kits are perfect for beginners or those with limited space, while larger kits are suitable for more experienced growers or those who want to produce a larger harvest.
Budget Considerations: Balancing Cost and Quality
Microgreen growing kits range in price from affordable starter kits to more expensive, feature-rich kits. Determine your budget and prioritize the features that are most important to you. Remember that investing in a higher-quality kit can often save you money in the long run by providing better results and lasting longer.

Setting Up Your Microgreen Growing Kit: A Step-by-Step Guide
Once you’ve chosen your kit, it’s time to set it up and start growing! Here’s a general guide to setting up your microgreen growing kit:
- Choose a Location: Select a well-lit area with good ventilation. A sunny windowsill or a spot under grow lights is ideal.
- Prepare the Growing Medium: Follow the instructions provided with your kit to prepare the growing medium. If using soil, make sure it’s loose and well-draining. If using coco coir or hemp fiber, hydrate it according to the instructions.
- Sow the Seeds: Sprinkle the seeds evenly over the surface of the growing medium. Avoid overcrowding the seeds, as this can lead to mold growth.
- Mist with Water: Gently mist the seeds with water using a spray bottle. The growing medium should be moist but not soggy.
- Cover with Humidity Dome (Optional): If your kit includes a humidity dome, cover the tray to maintain a consistent level of moisture.
- Monitor Germination: Check the seeds daily for germination. Once the seeds sprout, remove the humidity dome to allow for air circulation.
Caring for Your Microgreens: Nurturing Your Miniature Garden
Proper care is essential for healthy microgreen growth. Here are some key tips:
Watering: Finding the Right Balance
Microgreens need consistent moisture to thrive, but overwatering can lead to mold growth. Water your microgreens regularly, but allow the top layer of the growing medium to dry out slightly between waterings. Use a spray bottle to mist the seedlings gently.
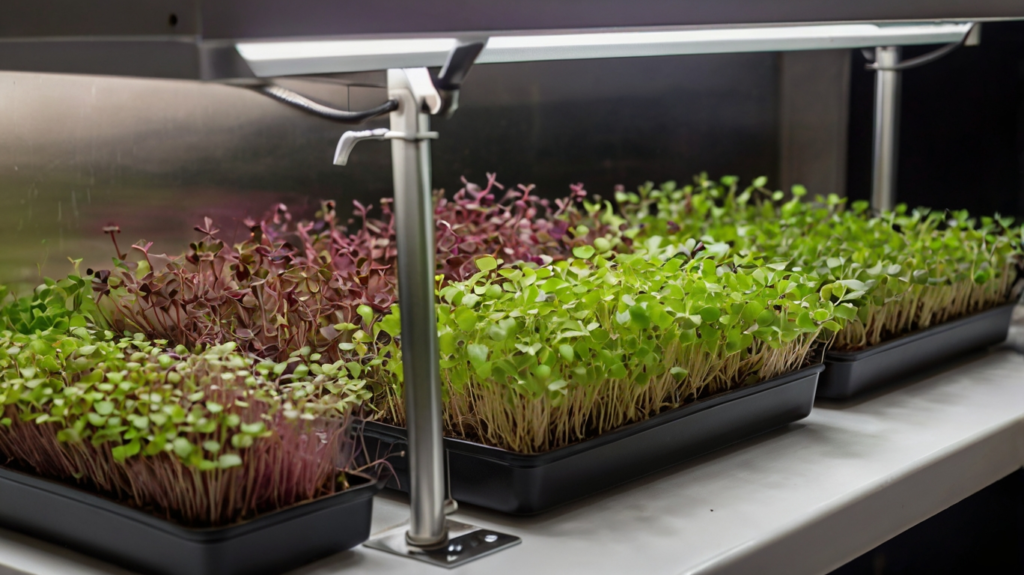
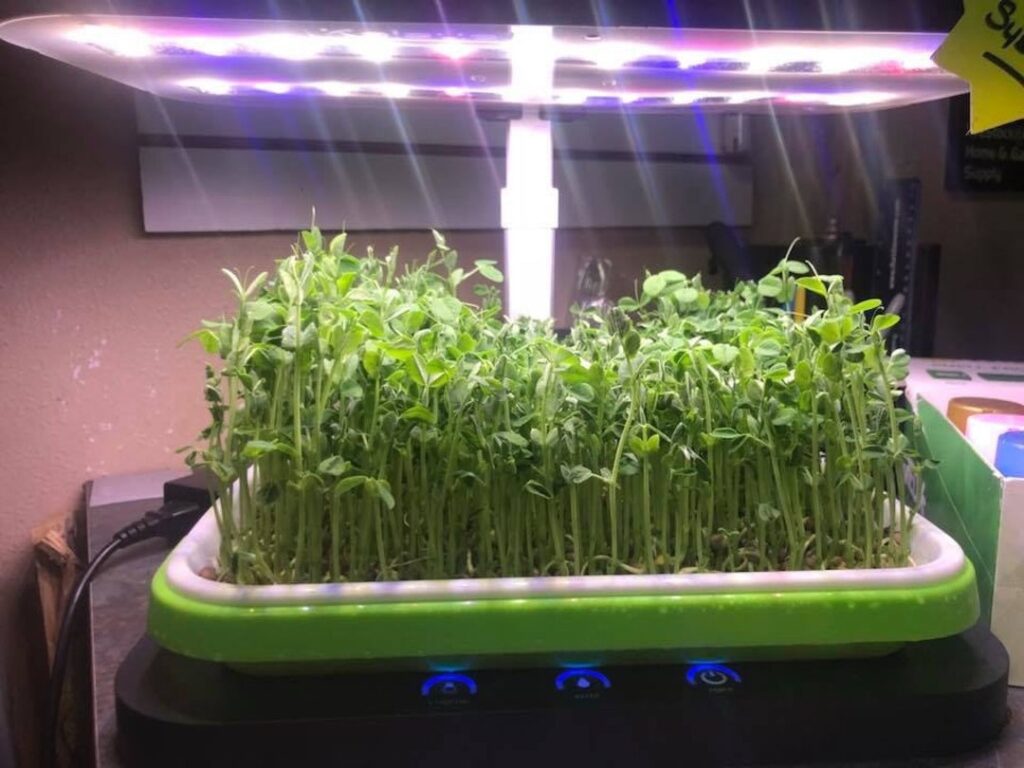
Lighting: Providing Adequate Illumination
Microgreens need adequate light to develop their vibrant color and flavor. If you’re growing your microgreens indoors, provide supplemental lighting with grow lights. Aim for 12-16 hours of light per day.
Ventilation: Preventing Mold Growth
Good ventilation is crucial for preventing mold growth. Ensure that your microgreens have adequate air circulation by placing them in a well-ventilated area or using a small fan.
Temperature: Maintaining a Consistent Environment
Microgreens prefer a temperature range of 60-75°F (15-24°C). Avoid placing your microgreens in direct sunlight or near drafts, as this can cause temperature fluctuations.
Troubleshooting Common Problems: Overcoming Challenges
Even with the best care, you may encounter some challenges when growing microgreens. Here are some common problems and how to troubleshoot them:
Mold Growth: Addressing the Fuzzy Foe
Mold growth is a common problem with microgreens, especially in humid environments. To prevent mold growth, ensure good ventilation, avoid overwatering, and use a clean growing medium. If you notice mold growth, remove the affected area and treat the remaining microgreens with a natural fungicide.
Poor Germination: Unlocking the Seed’s Potential
Poor germination can be caused by several factors, including low-quality seeds, improper watering, and inadequate temperature. Use high-quality seeds, ensure proper moisture levels, and maintain a consistent temperature to improve germination rates.
Leggy Growth: Reaching for the Light
Leggy growth occurs when microgreens stretch towards the light, resulting in weak and spindly stems. Provide adequate lighting to prevent leggy growth.
Yellowing Leaves: Decoding the Color Change
Yellowing leaves can be caused by several factors, including nutrient deficiencies, overwatering, and underwatering. Adjust your watering schedule and consider adding a diluted nutrient solution to the growing medium.
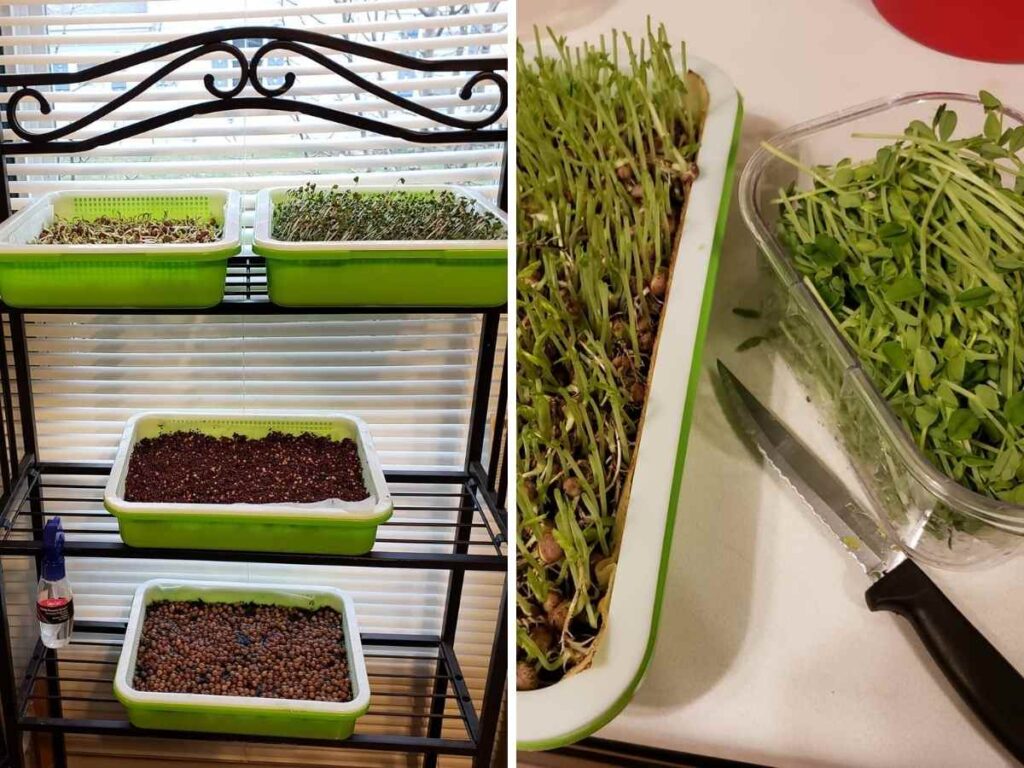
Harvesting Your Microgreens: Reaping the Rewards
The moment you’ve been waiting for! Microgreens are typically ready to harvest in 7-14 days, depending on the variety. Here’s how to harvest your microgreens:
- Check for True Leaves: Microgreens are typically harvested when they have developed their first set of true leaves.
- Use Sharp Scissors: Use sharp scissors to cut the microgreens just above the growing medium.
- Wash and Dry: Gently wash the microgreens to remove any dirt or debris. Dry them thoroughly before storing.
- Store Properly: Store your harvested microgreens in an airtight container in the refrigerator for up to a week.
Beyond the Basics: Expanding Your Microgreen Horizons
Once you’ve mastered the basics of growing microgreens, you can explore more advanced techniques and experiment with different varieties. Here are some ideas:
Experimenting with Different Varieties: A World of Flavors
The possibilities are endless when it comes to microgreen varieties. Try growing different types of microgreens to discover your favorite flavors and textures. Some popular options include radish, broccoli, kale, sunflower, pea shoots, and cilantro.
Creating Custom Blends: A Symphony of Tastes
Mix and match different microgreen varieties to create custom blends with unique flavor profiles. For example, you could create a spicy blend with radish, mustard, and arugula microgreens, or a sweet and savory blend with pea shoots, sunflower, and basil microgreens.
Using Different Growing Mediums: Exploring New Terrain
Experiment with different growing mediums to see which one works best for you. Try using coco coir, hemp fiber mats, or even recycled materials like coffee grounds or newspaper.
Incorporating Microgreens into Your Diet: Culinary Creations
Microgreens can be used in a wide variety of dishes, from salads and sandwiches to soups and smoothies. Get creative and experiment with different ways to incorporate microgreens into your diet.
The Environmental Benefits of Growing Your Own Microgreens
Growing your own microgreens isn’t just good for your health and your taste buds; it’s also good for the environment. By growing your own microgreens, you can reduce your reliance on commercially grown produce, which often travels long distances and consumes significant resources.
Here are some of the environmental benefits of growing your own microgreens:
- Reduced Carbon Footprint: Growing your own microgreens reduces the carbon footprint associated with transporting produce from farms to grocery stores.
- Reduced Water Consumption: Microgreens require less water than mature vegetables, making them a more sustainable option.
- Reduced Pesticide Use: When you grow your own microgreens, you have complete control over the growing process, allowing you to avoid the use of harmful pesticides.
- Reduced Waste: Growing your own microgreens reduces food waste by allowing you to harvest only what you need.
Microgreens: A Sustainable and Nutritious Choice for the Modern Kitchen
Microgreen growing kits offer a convenient and rewarding way to bring fresh, nutritious greens into your kitchen. Whether you’re a seasoned gardener or a complete beginner, a microgreen growing kit can help you cultivate your own miniature farm and enjoy the many benefits of these tiny superfoods. So, embrace your inner urban farmer and embark on a microgreen adventure today!
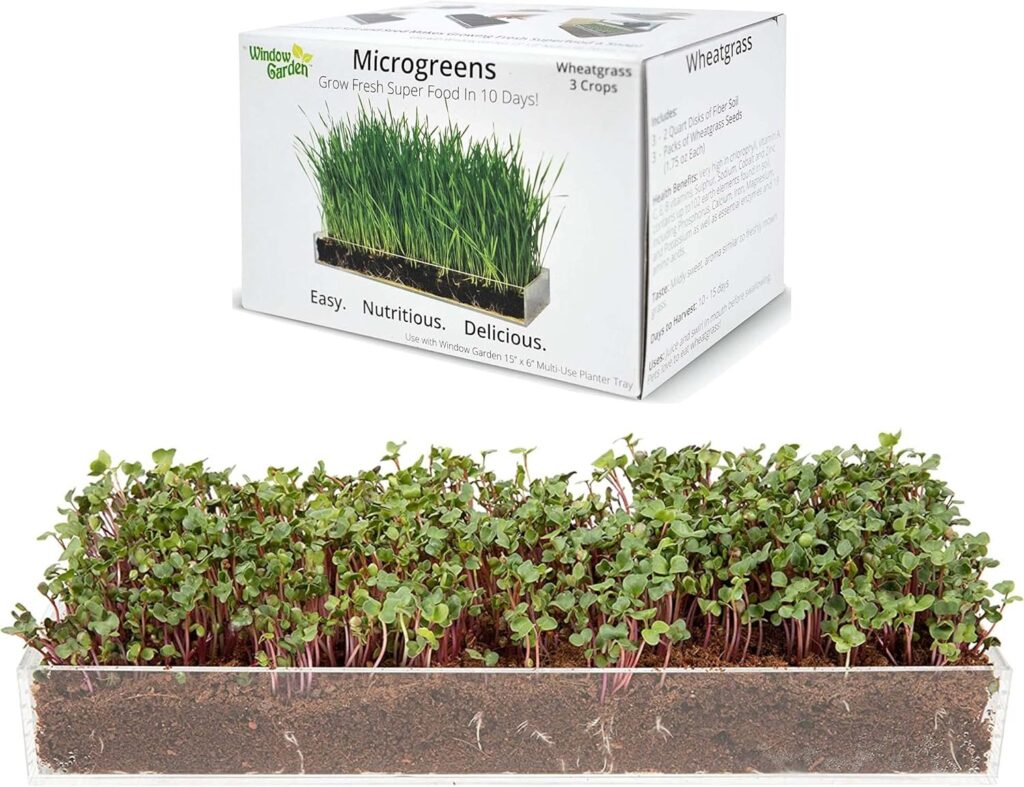
Where to Buy Your Microgreen Growing Kit
Microgreen growing kits are readily available online and at garden centers. When choosing a kit, consider the factors discussed earlier in this guide, such as the components included, the growing method, the size, and the price. Read reviews from other customers to get a sense of the kit’s quality and performance.
Final Thoughts: Cultivating a Greener, Healthier Future
Growing microgreens is more than just a hobby; it’s a commitment to a healthier lifestyle and a more sustainable future. By embracing the power of microgreens, you can nourish your body, tantalize your taste buds, and contribute to a greener planet. So, what are you waiting for? Get your hands dirty and start growing your own microgreens today!