Nimila

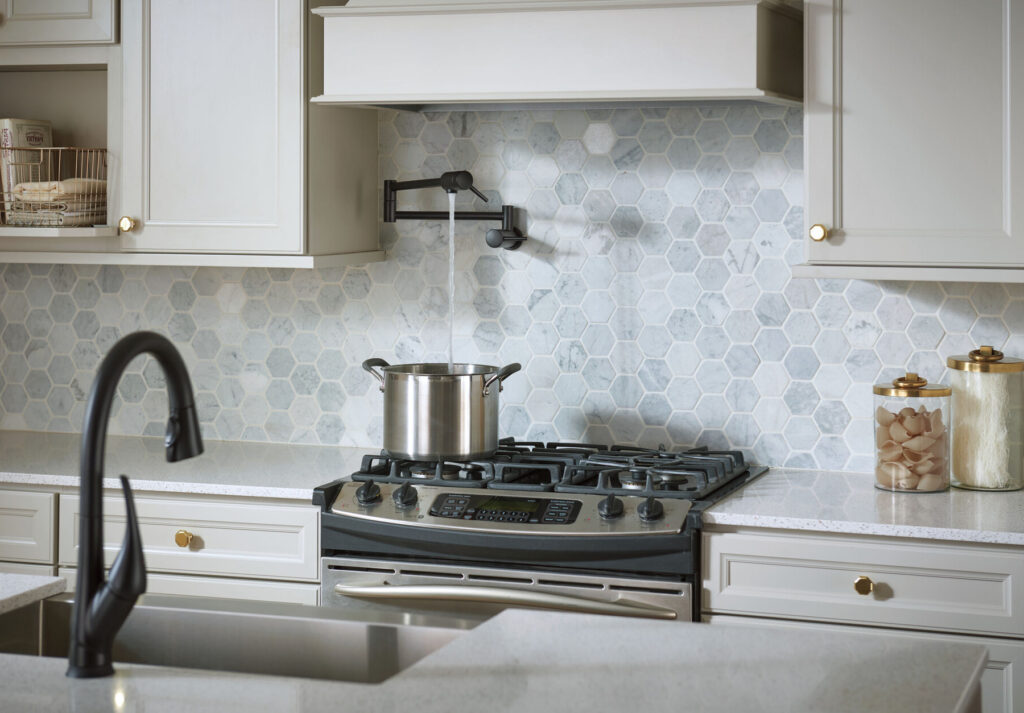
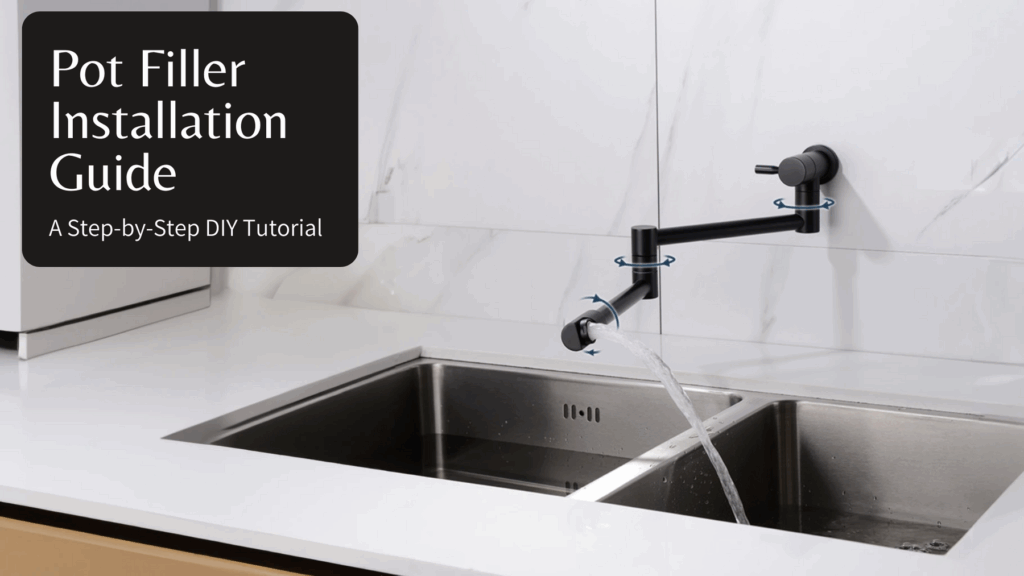
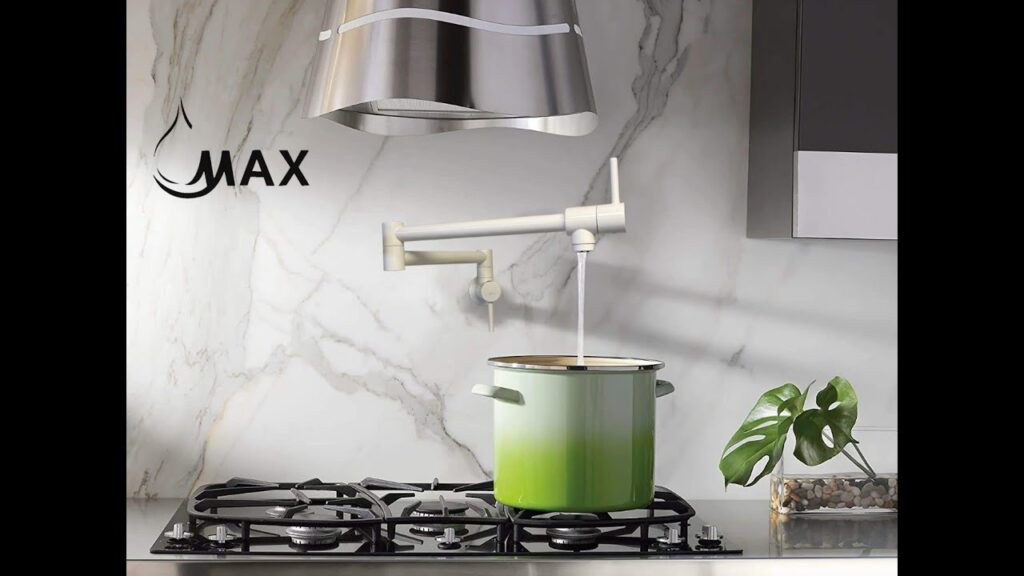
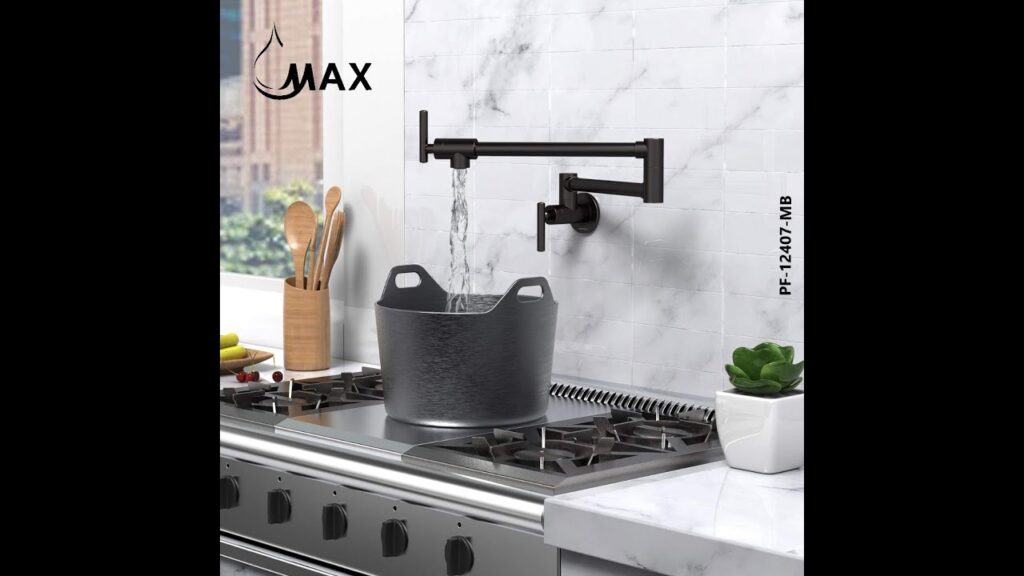
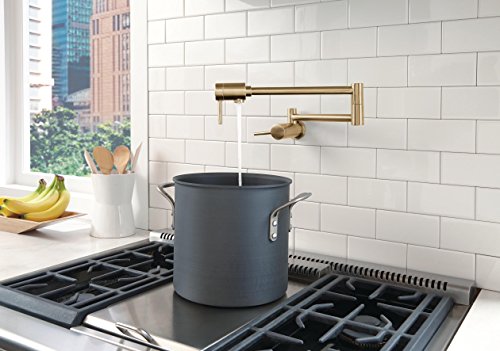
Why Install a Pot Filler Faucet? The Chef’s Secret Weapon
Let’s face it: hauling a heavy pot full of water from the sink to the stove is a pain. It’s a recipe for spills, backaches, and general kitchen chaos. Enter the pot filler faucet – a game-changer for any serious home cook or anyone who values kitchen convenience. But is a pot filler faucet installation right for you? Beyond the obvious benefit of eliminating the water-carrying commute, pot fillers offer a range of advantages that can transform your cooking experience.
Imagine this: you’re simmering a delicate sauce, and suddenly realize you need to add more water. No more awkwardly juggling a pitcher or attempting to maneuver a bulky pot under the faucet. With a pot filler, instant access to water is just an arm’s reach away. It’s about efficiency, safety, and, let’s be honest, a touch of culinary flair.
But the benefits don’t stop there. Pot fillers can also:
- Reduce Strain: Minimize back and arm strain from lifting and carrying heavy water-filled pots.
- Prevent Spills: Avoid messy spills and potential accidents while transporting water across the kitchen.
- Increase Efficiency: Streamline your cooking process with readily available water right at the stove.
- Add Value to Your Home: A stylish pot filler can be a desirable feature for potential homebuyers.
- Elevate Kitchen Aesthetics: Choose from a variety of designs and finishes to complement your kitchen décor.
In this comprehensive guide, we’ll walk you through everything you need to know about pot filler faucet installation, from planning and preparation to the actual installation process and troubleshooting tips. Whether you’re a seasoned DIY enthusiast or a curious homeowner considering this upgrade, we’ve got you covered.
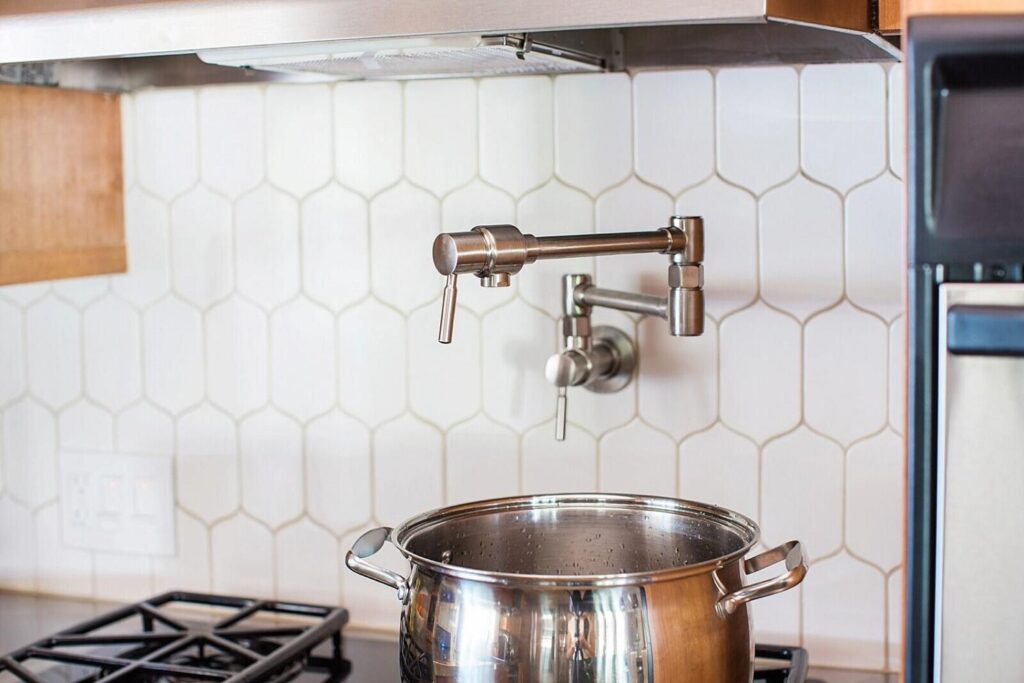
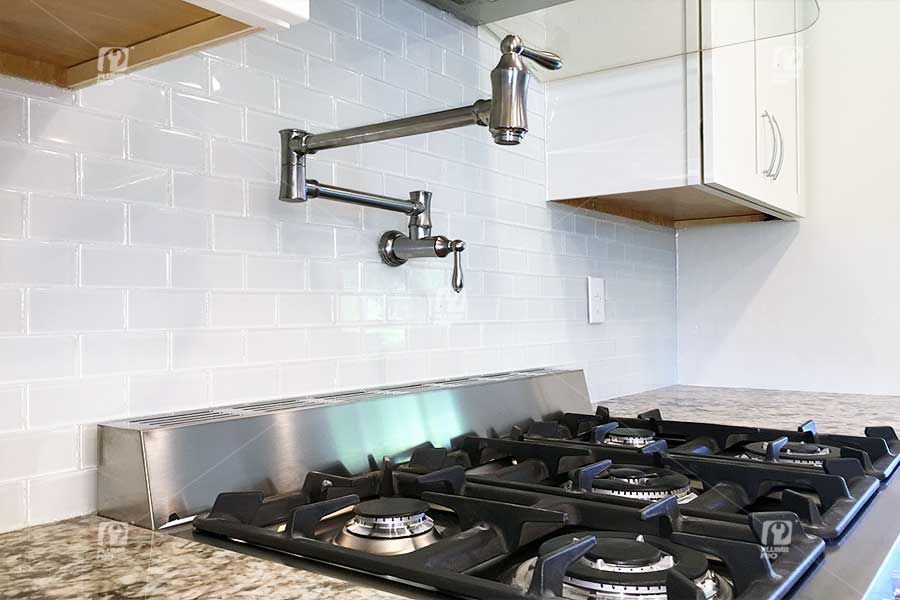
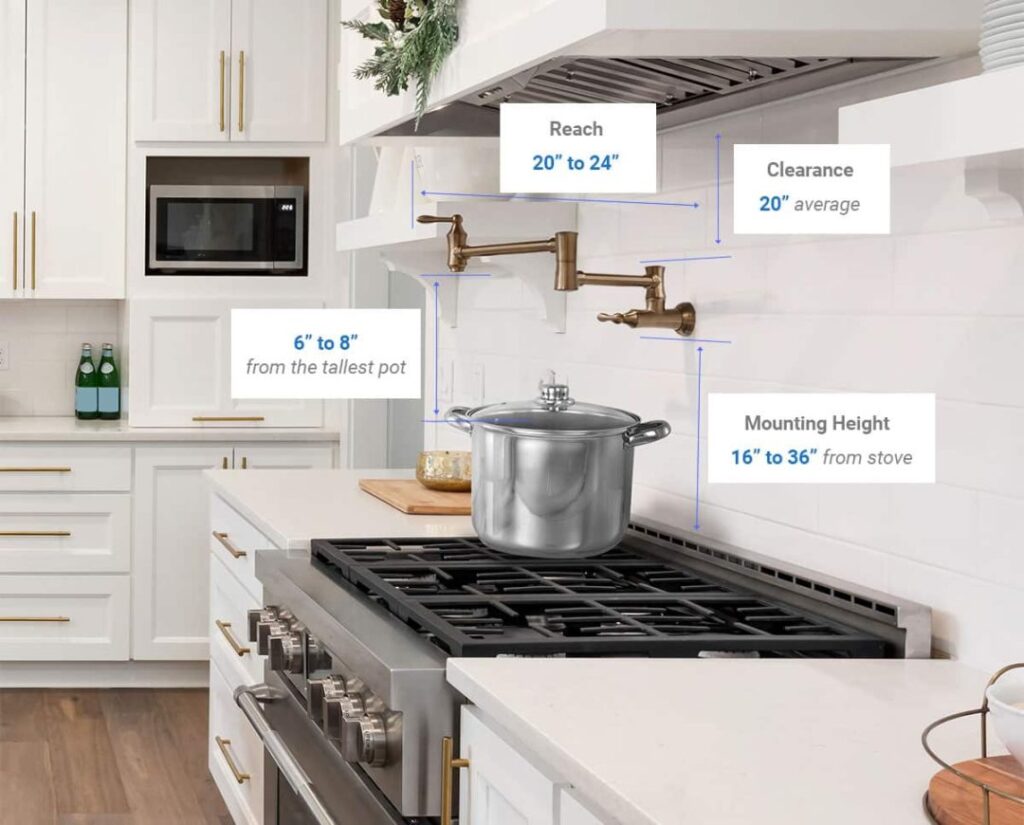
Planning Your Pot Filler Faucet Installation: Location, Location, Location
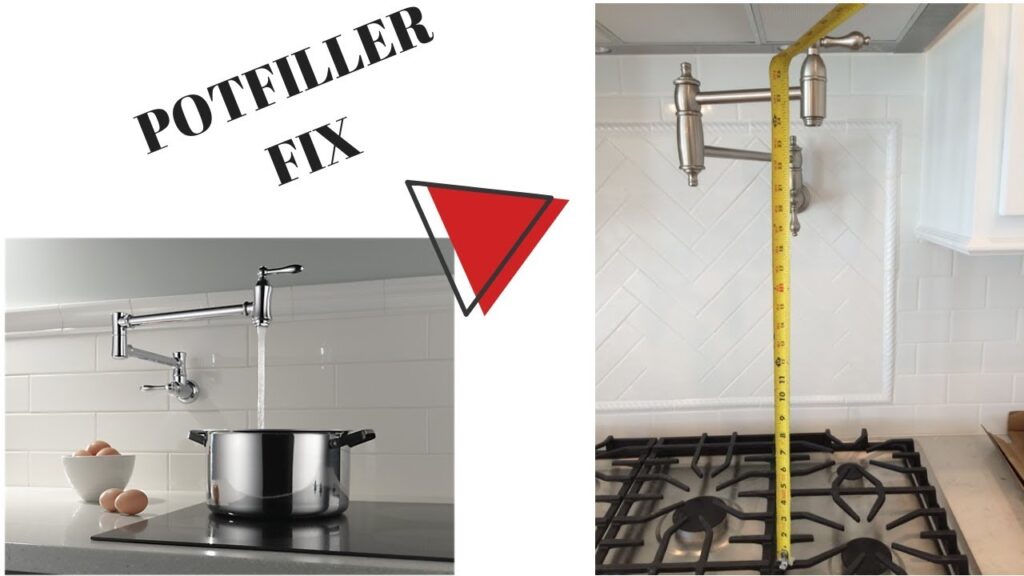
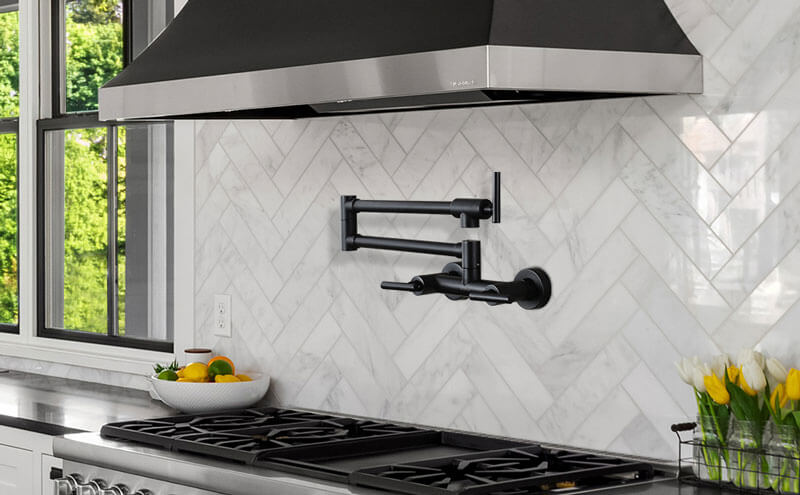
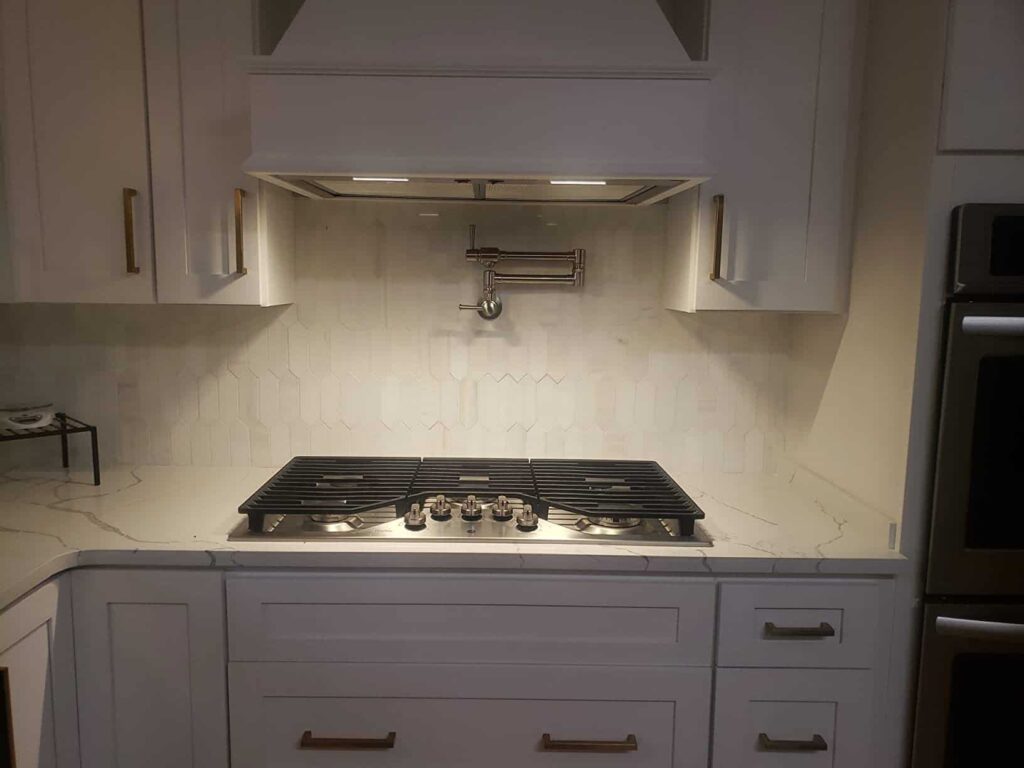
Before you even think about picking up a wrench, careful planning is crucial. The most important factor is location. A pot filler needs to be installed near your stove, ideally centered above the back burners. This placement provides easy access without interfering with your cooking space.
Consider these factors when choosing the perfect spot:
- Accessibility: Can you easily reach the faucet from all burners?
- Clearance: Will the pot filler interfere with pots on the stove or the range hood above?
- Aesthetics: Does the placement complement the overall look of your kitchen?
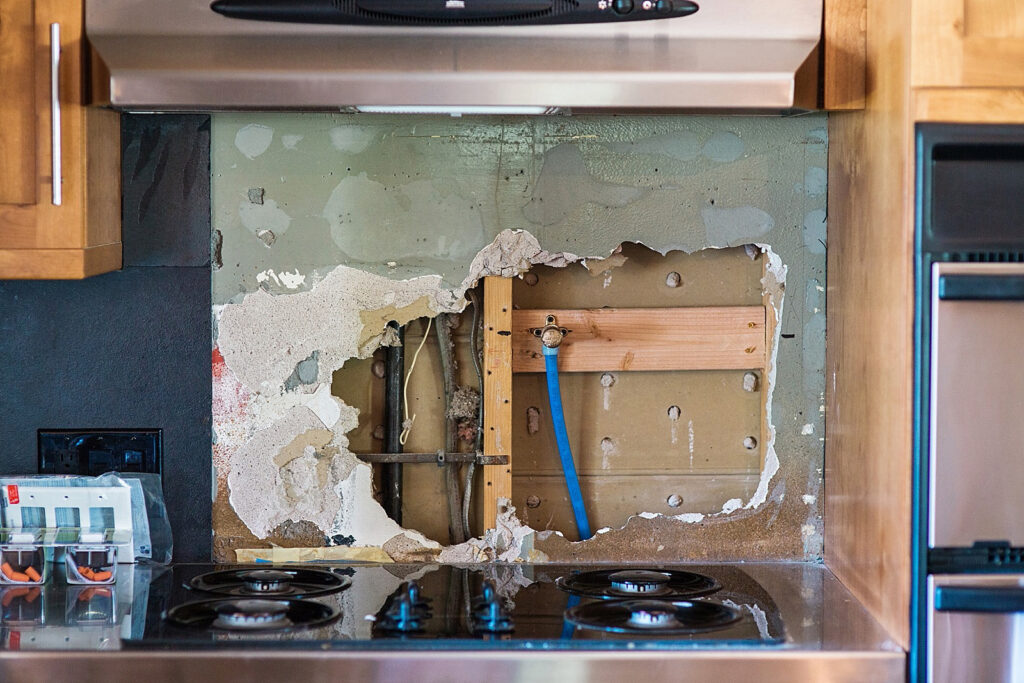
Checking for Existing Plumbing
Now for the slightly less glamorous, but equally important, part: checking for existing plumbing. Pot fillers require a cold water supply line. If you already have a water line running behind your stove (perhaps for an ice maker or refrigerator), you’re in luck! This will simplify the installation process.
If not, you’ll need to tap into an existing water line, typically from a nearby sink. This might involve running new pipes through your walls or under your cabinets, which can be a more complex undertaking. Don’t worry, we’ll cover both scenarios in detail later.
Considering Wall Support
Pot fillers, especially heavier models, require adequate wall support. The wall behind your stove needs to be sturdy enough to handle the weight of the faucet and the force of opening and closing it. Check the manufacturer’s specifications for weight requirements and ensure your wall can handle the load. If necessary, reinforce the wall with additional framing or blocking before proceeding with the installation.
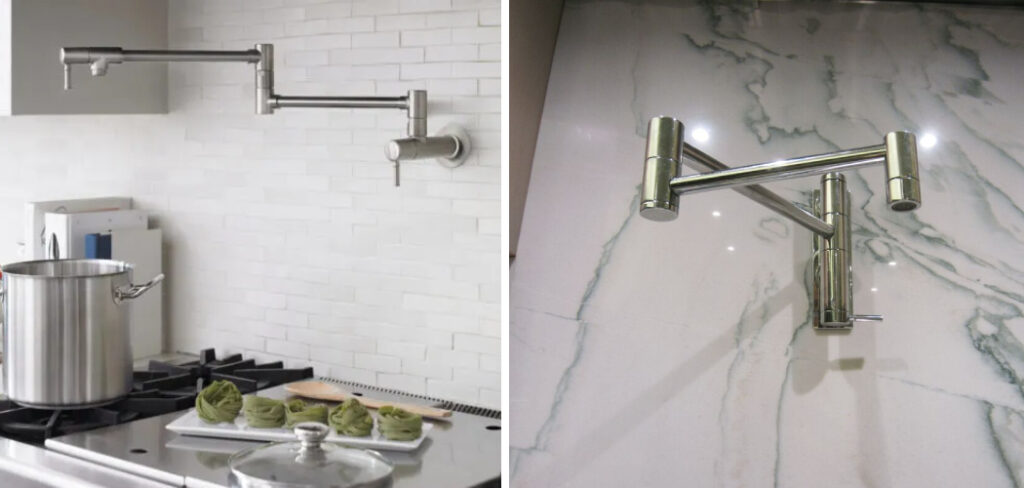
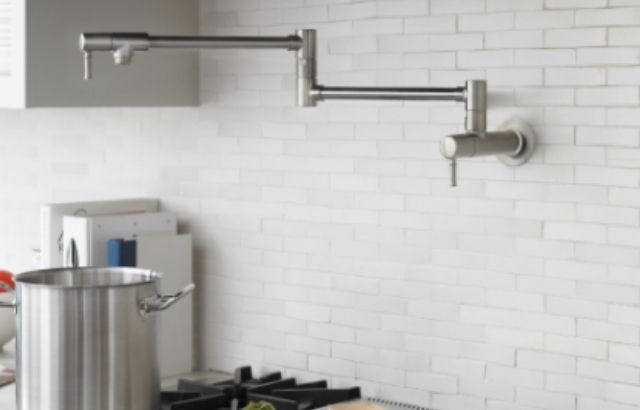
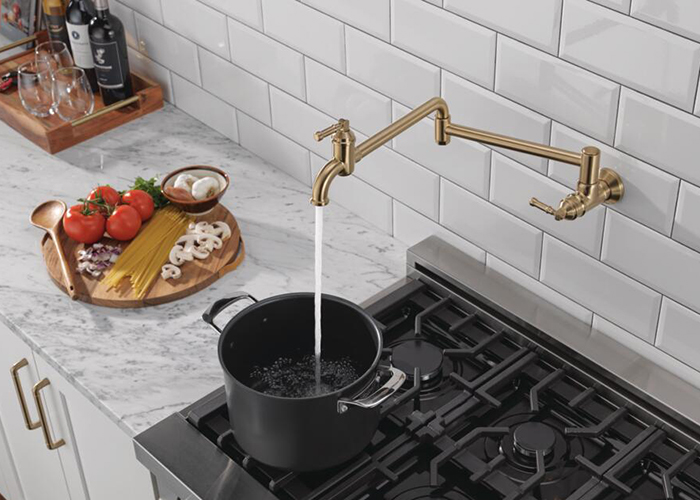
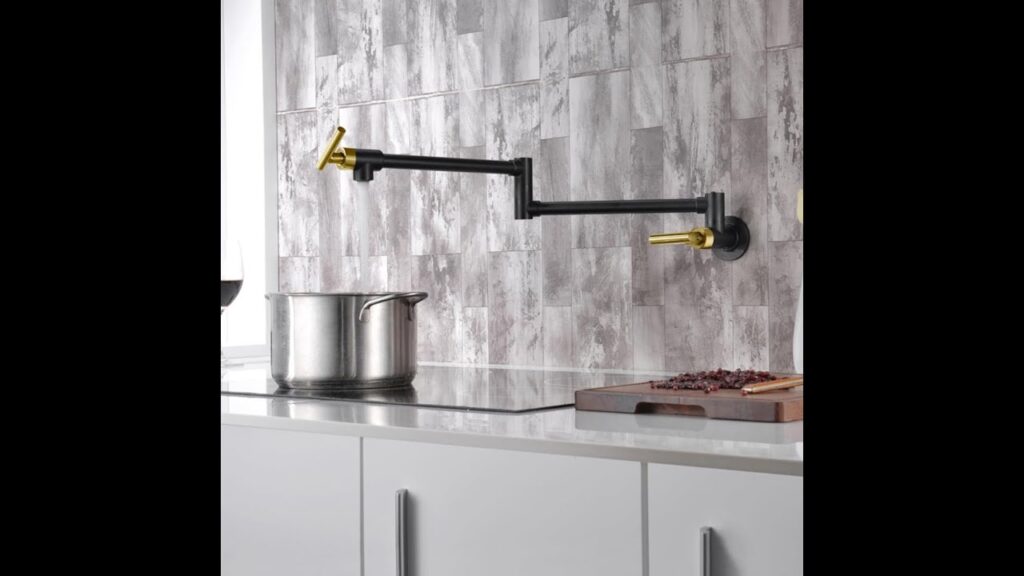
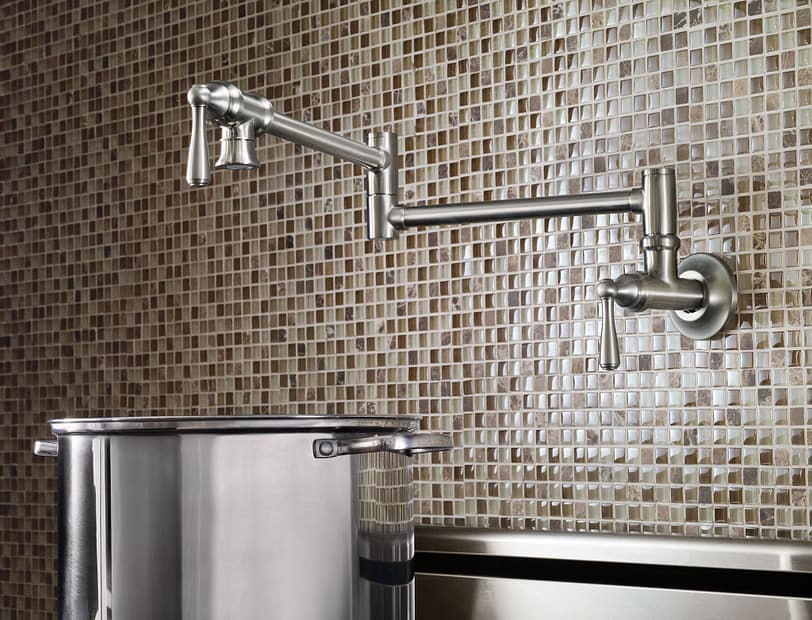
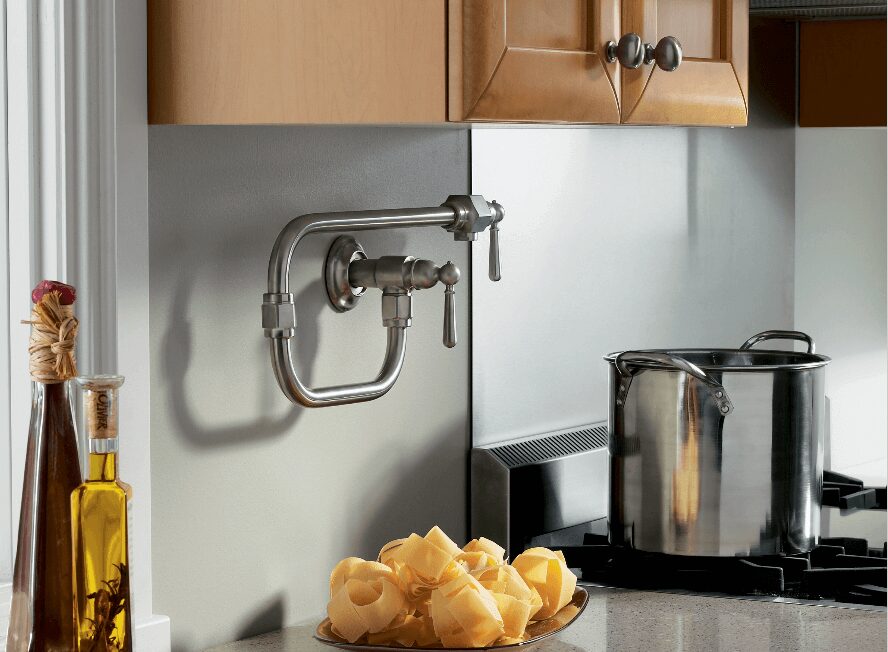
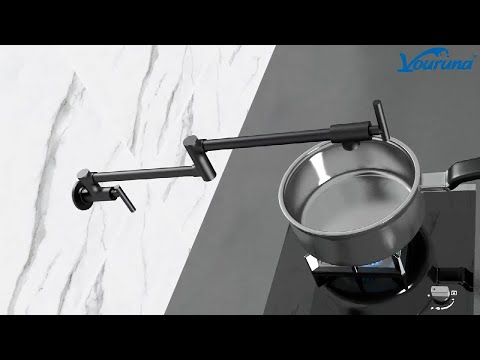
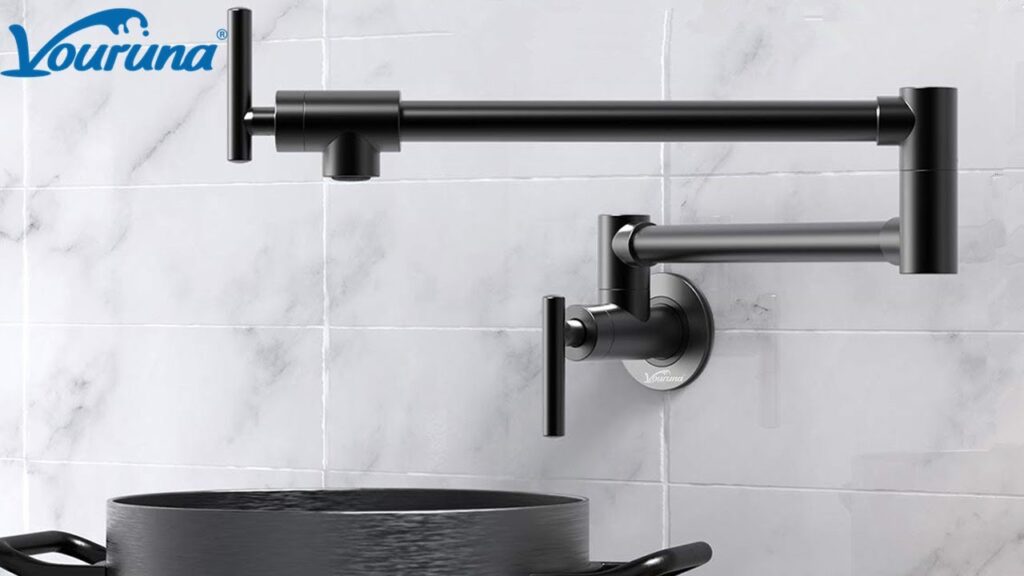
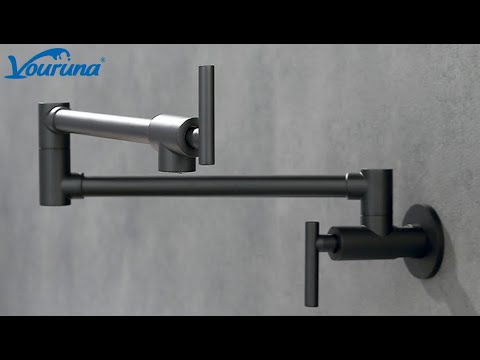
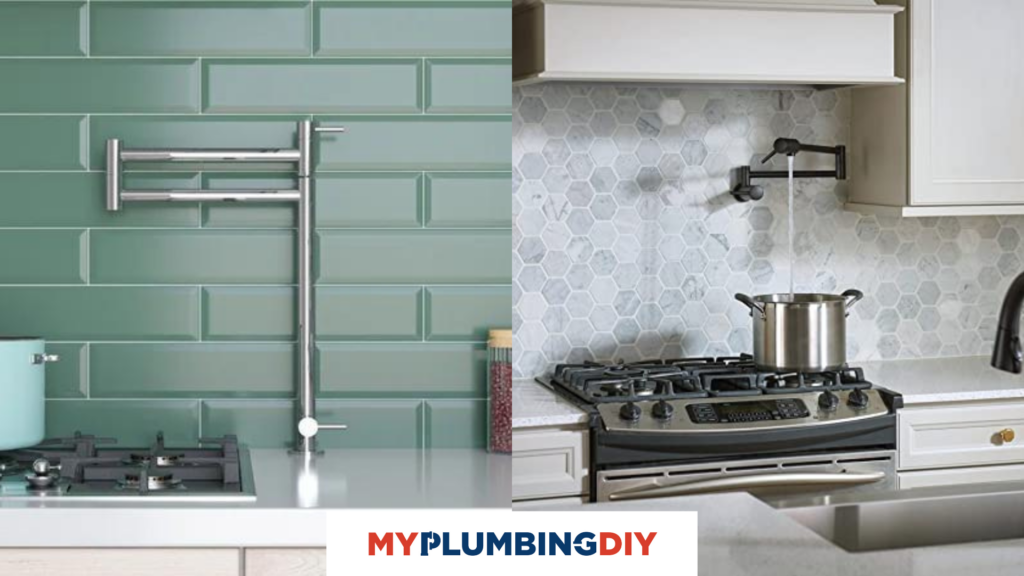
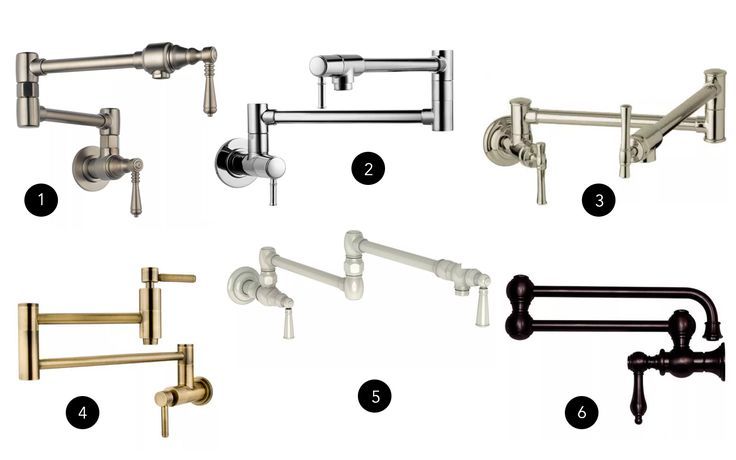
Choosing the Right Pot Filler Faucet
The market is flooded with pot filler faucets in various styles, finishes, and price points. Take your time to choose one that fits your aesthetic preferences and budget. Consider these factors:
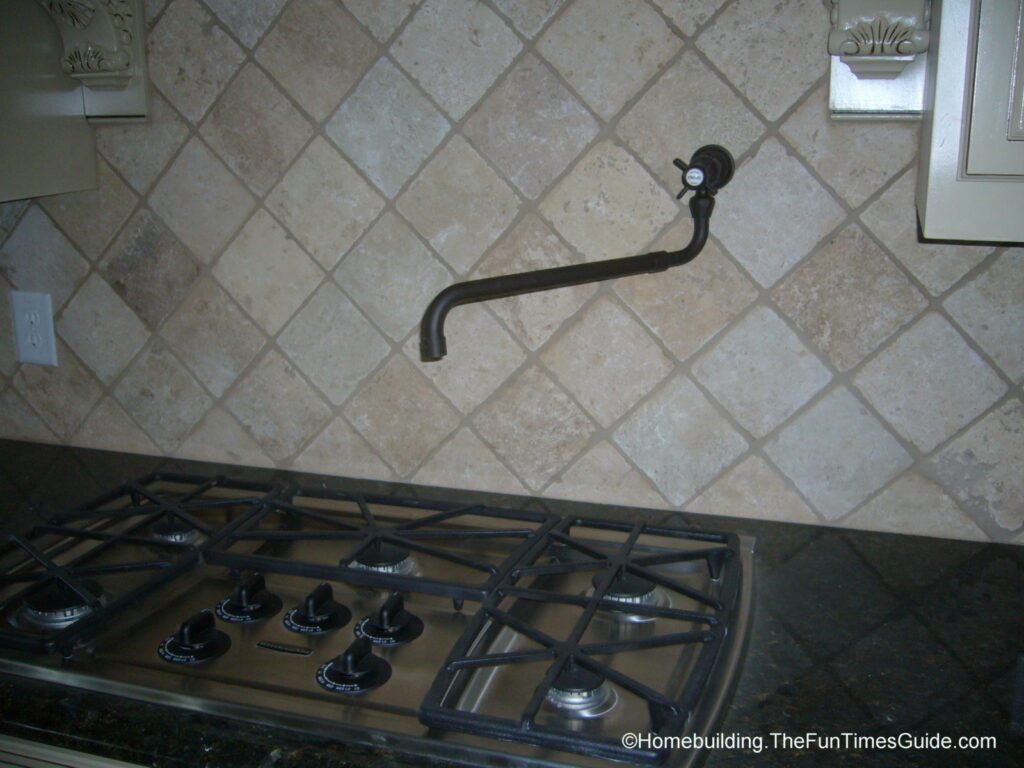
- Style: Do you prefer a modern, traditional, or contemporary design?
- Finish: Choose a finish that complements your other kitchen fixtures (e.g., stainless steel, brushed nickel, oil-rubbed bronze).
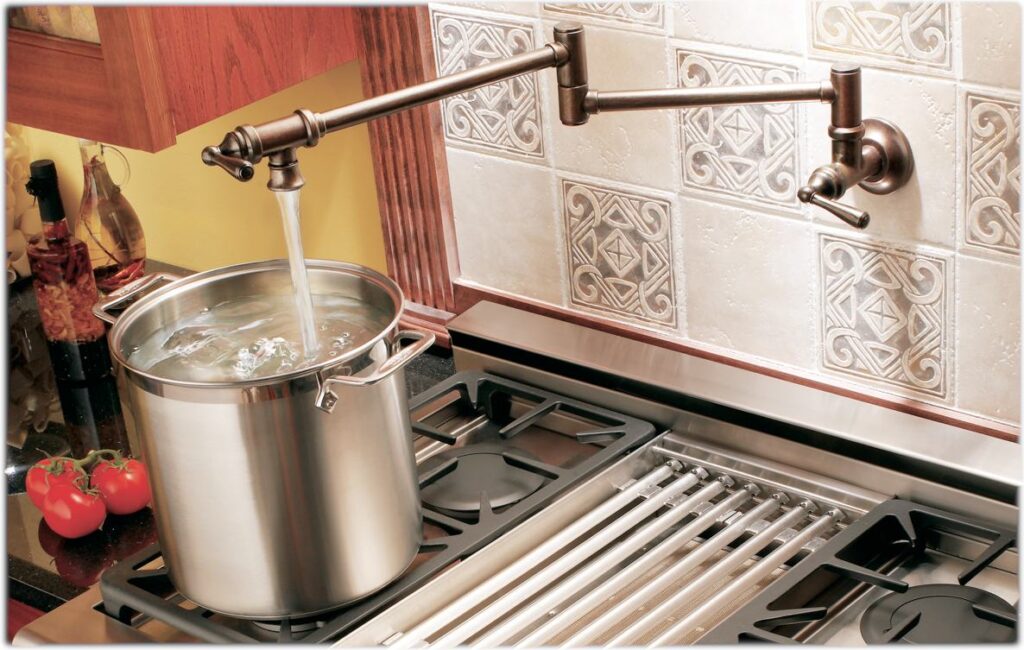
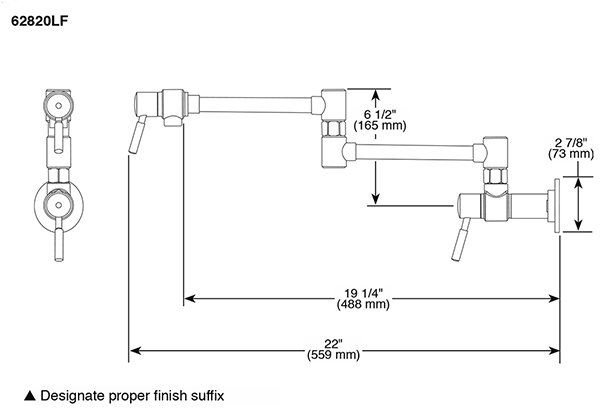
- Reach: Ensure the faucet’s reach is long enough to extend over all your burners.
- Flow Rate: A higher flow rate will fill your pots faster.
- Quality: Opt for a reputable brand with a solid warranty.
Read reviews and compare different models before making a purchase. Don’t be afraid to spend a little more for a high-quality faucet that will last for years to come.
Gathering Your Tools and Materials: The DIY Arsenal
Before you start swinging hammers, make sure you have all the necessary tools and materials on hand. This will save you time and frustration during the installation process. Here’s a comprehensive checklist:
- Pot Filler Faucet: Obviously! Make sure you have the correct model and all its components.
- Pencil: For marking measurements and drilling locations.
- Stud Finder: To locate wall studs for secure mounting.
- Drill: With various drill bits for different materials (wood, drywall, tile).
- Hole Saw: To create the opening for the water supply pipe (if necessary).
- Adjustable Wrench: For tightening and loosening plumbing fittings.
- Pipe Wrench: For gripping and turning pipes.
- Pipe Cutter: For cutting copper or PEX pipes.
- PEX Cutter (if using PEX): Specifically designed for cutting PEX tubing.
- PEX Crimp Tool (if using PEX): To create secure connections with PEX fittings.
- Teflon Tape: To seal threaded plumbing connections and prevent leaks.
- Plumber’s Putty: To seal around the base of the faucet (optional).
- Level: To ensure the faucet is installed straight and level.
- Safety Glasses: To protect your eyes from debris.
- Gloves: To protect your hands.
- Drop Cloth: To protect your countertops and flooring.
- Flashlight: For illuminating dark areas.
- Towels or Rags: For cleaning up spills.
- Additional Plumbing Fittings: Depending on your existing plumbing configuration (e.g., T-fittings, elbows, adapters).
- Shut-off Valve: Highly recommended for isolating the pot filler’s water supply for future repairs.
Having the right tools will make the job much easier and safer. Don’t skimp on quality, especially when it comes to plumbing tools. Renting specialized tools like a PEX crimp tool can be a cost-effective option if you don’t plan on using them frequently.
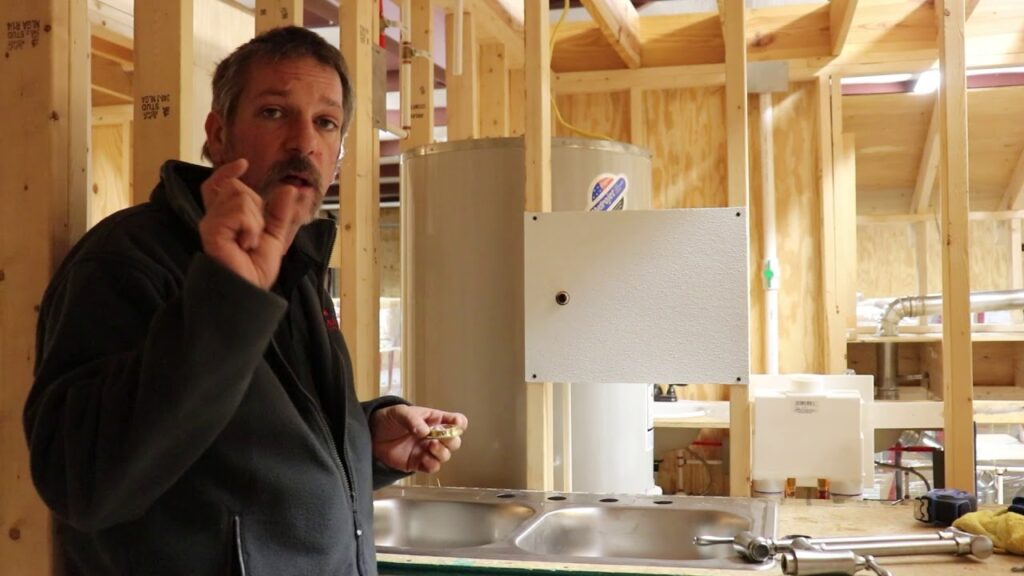
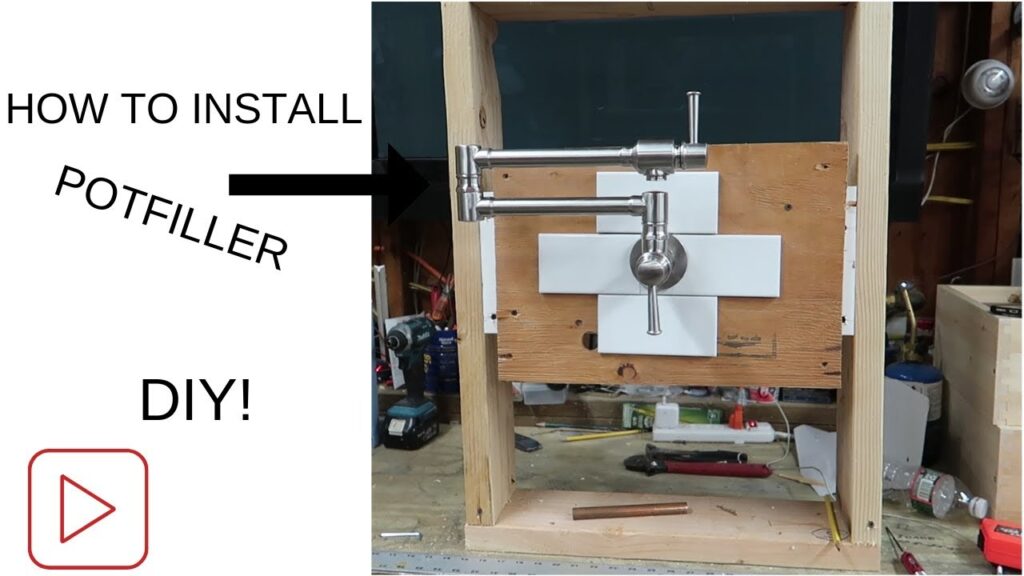
The Installation Process: A Step-by-Step Guide
Alright, let’s get down to business! This is where the rubber meets the road. We’ll break down the installation process into manageable steps. Remember to turn off the water supply to your kitchen before you begin!
Step 1: Marking the Installation Location
Using your stud finder, locate the wall studs behind your stove. Mark the location of the studs with a pencil. This will help you determine the best spot to mount the pot filler. Use a level to ensure your markings are straight and even. The center of the faucet should be aligned with the center of your back burners for optimal reach and convenience.
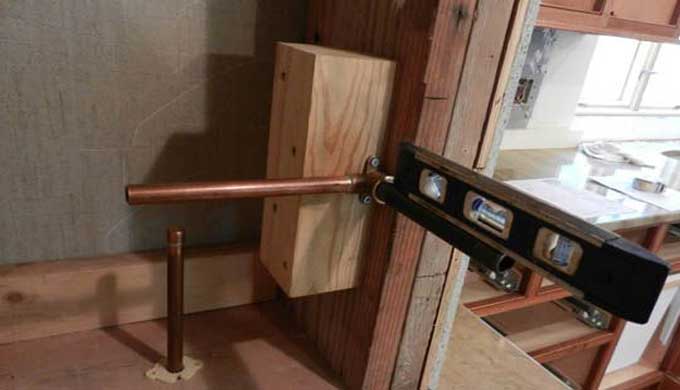
Step 2: Drilling the Pilot Hole (if necessary)
If you’re running a new water line, you’ll need to drill a hole through the wall to accommodate the pipe. Choose a drill bit slightly larger than the diameter of the pipe. Start with a small pilot hole to guide the larger drill bit. Be careful not to drill into any electrical wiring or other plumbing pipes. If you’re unsure, consult a professional plumber.
Step 3: Connecting to the Water Supply
This is where things can get a bit tricky, depending on your existing plumbing. There are two main scenarios:
Scenario 1: Existing Water Line
If you already have a water line behind your stove, you can simply tap into it using a T-fitting. Turn off the water supply to the existing line. Disconnect the existing pipe at the point where you want to install the T-fitting. Attach the T-fitting, ensuring it’s properly sealed with Teflon tape. Connect the pot filler’s water supply line to the T-fitting.
Scenario 2: Running a New Water Line
If you need to run a new water line, you’ll need to tap into an existing water line, typically from a nearby sink. Turn off the water supply to the sink. Locate the cold water supply line under the sink. Install a T-fitting onto the cold water line. Run a new pipe (copper or PEX) from the T-fitting to the location behind your stove. Secure the pipe to the wall studs using pipe clamps. Connect the pot filler’s water supply line to the new pipe.
Working with PEX Plumbing

PEX (cross-linked polyethylene) is a popular alternative to copper for plumbing. It’s flexible, durable, and easy to install. If you’re using PEX, you’ll need a PEX cutter and a PEX crimp tool. Cut the PEX tubing to the desired length. Attach the PEX fittings to the tubing using the crimp tool. Make sure the connections are secure and leak-proof.
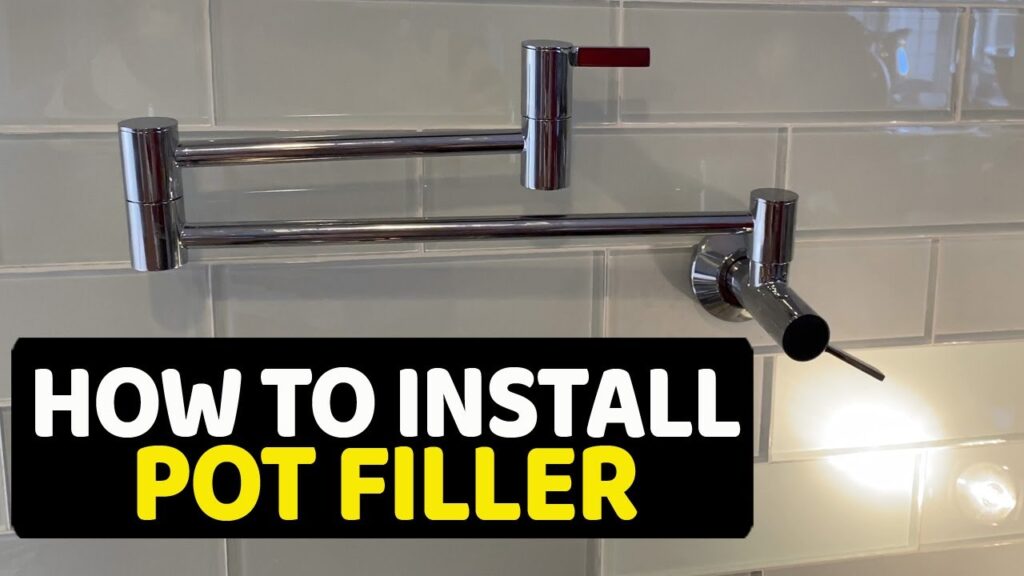
Step 4: Installing the Pot Filler Faucet
Now it’s time to install the pot filler faucet itself. Follow the manufacturer’s instructions carefully. Typically, this involves inserting the faucet’s mounting flange through the hole in the wall and securing it to the wall studs with screws. Use a level to ensure the faucet is straight and level. Tighten the screws securely, but be careful not to overtighten them.
Step 5: Connecting the Water Supply Line to the Faucet
Connect the water supply line to the faucet’s inlet. Use Teflon tape to seal the threaded connections and prevent leaks. Tighten the connections with an adjustable wrench. Be careful not to overtighten them, as this could damage the faucet or the pipes.
Step 6: Testing for Leaks
This is a crucial step! Turn the water supply back on slowly. Carefully inspect all connections for leaks. If you find any leaks, turn off the water supply and tighten the connections further. If the leaks persist, you may need to replace the Teflon tape or the fittings.
Step 7: Finishing Touches
Once you’re satisfied that there are no leaks, you can add some finishing touches. Apply plumber’s putty around the base of the faucet to seal any gaps between the faucet and the wall (optional). Clean up any spills or debris. Step back and admire your handiwork!
Troubleshooting Common Pot Filler Installation Problems
Even with the best planning and preparation, things can sometimes go wrong. Here are some common problems you might encounter during pot filler installation and how to fix them:
- Leaks: The most common problem. Turn off the water supply and tighten the leaking connection. If the leak persists, replace the Teflon tape or the fitting.
- Low Water Pressure: Check the shut-off valve to make sure it’s fully open. Also, check for any kinks or obstructions in the water supply line.
- Faucet Not Level: Loosen the mounting screws and adjust the faucet until it’s level. Tighten the screws securely.
- Difficulty Connecting to Existing Plumbing: If you’re having trouble connecting to the existing plumbing, consult a professional plumber. They can help you identify the best solution and ensure the connection is made safely and correctly.
- Wall Not Strong Enough: If the wall isn’t strong enough to support the pot filler, reinforce it with additional framing or blocking.
When to Call a Professional Plumber
While pot filler faucet installation can be a DIY project, there are times when it’s best to call a professional plumber. Consider hiring a plumber if:
- You’re not comfortable working with plumbing. Plumbing can be complex and requires specialized knowledge and skills. If you’re not confident in your abilities, it’s best to leave it to the professionals.
- You need to run a new water line through walls or under cabinets. This can be a challenging task that requires specialized tools and expertise.
- You encounter any unexpected problems during the installation process. If you’re unsure how to fix a problem, don’t hesitate to call a plumber.
- You want to ensure the installation is done correctly and safely. A professional plumber can guarantee the quality of their work and provide peace of mind.
Hiring a plumber will cost you more upfront, but it can save you money in the long run by preventing costly repairs and potential water damage.
Maintaining Your Pot Filler Faucet: Keeping the Water Flowing
Once your pot filler is installed, proper maintenance is essential to keep it functioning properly for years to come. Here are some tips:
- Clean the Faucet Regularly: Wipe down the faucet with a soft cloth and mild detergent to remove water spots and grime. Avoid using abrasive cleaners, as they can damage the finish.
- Check for Leaks Regularly: Inspect the faucet and its connections for leaks periodically. Address any leaks promptly to prevent water damage.
- Lubricate Moving Parts: Apply a small amount of silicone grease to the faucet’s joints and handles to keep them moving smoothly.
- Replace Worn Parts: If any parts of the faucet become worn or damaged, replace them promptly. This will prevent further damage and ensure the faucet continues to function properly.
Pot Filler Faucet Installation: A Worthwhile Investment?
So, is a pot filler faucet installation worth the investment? For many homeowners, the answer is a resounding yes. The convenience, efficiency, and aesthetic appeal of a pot filler can significantly enhance your cooking experience and add value to your home.
While the installation process can be a bit challenging, with proper planning, preparation, and the right tools, it’s a manageable DIY project for many homeowners. However, if you’re not comfortable working with plumbing, don’t hesitate to call a professional plumber. A well-installed and maintained pot filler will provide years of reliable service and make your time in the kitchen more enjoyable.

Ultimately, the decision of whether or not to install a pot filler is a personal one. Weigh the pros and cons carefully, consider your budget and skill level, and make the choice that’s right for you and your kitchen. Happy cooking!