 Nimila

The Enduring Allure of Subway Tile in Kitchen Design
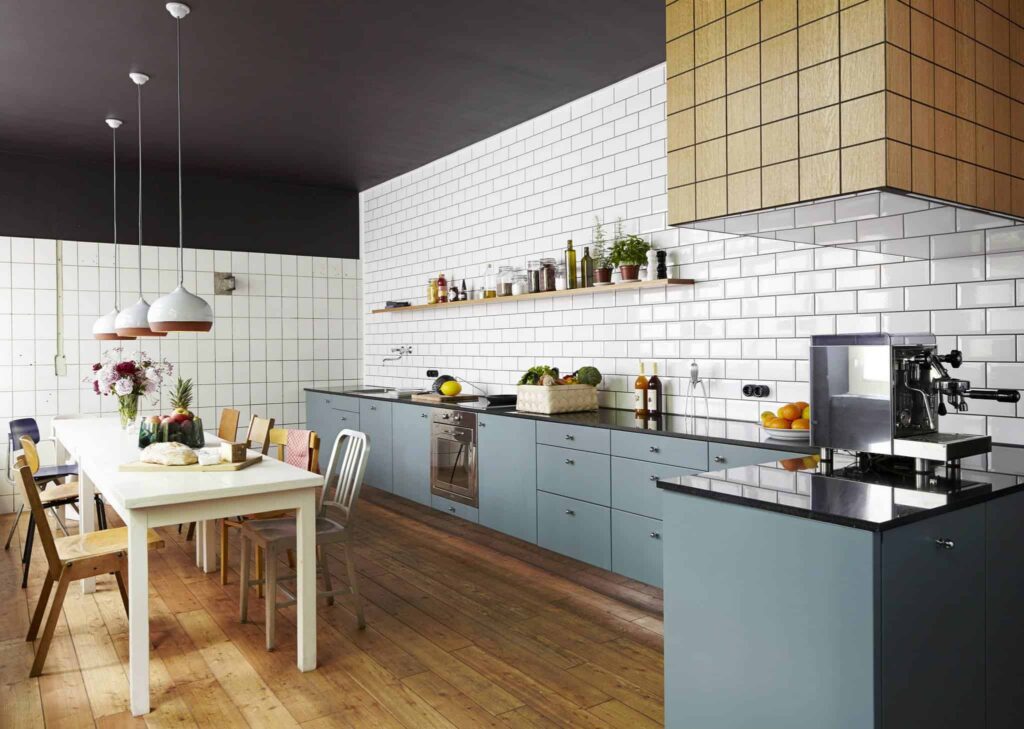
Subway tile. The name conjures images of bustling New York City subway stations, a testament to its origins in the early 20th century. But beyond its humble beginnings, subway tile has transcended its utilitarian roots to become a design staple, gracing kitchens around the globe with its clean lines, classic appeal, and remarkable versatility. From sleek modern masterpieces to cozy farmhouse kitchens, subway tile seamlessly integrates into a myriad of design aesthetics, proving its staying power and enduring charm.
But why has this simple rectangular tile remained so popular for over a century? The answer lies in a confluence of factors: its affordability, its durability, its ease of maintenance, and most importantly, its ability to adapt to changing design trends. Subway tile is a blank canvas, ready to be transformed by color, grout, layout, and surrounding decor. It’s a design chameleon, capable of blending seamlessly into any style while simultaneously adding a touch of timeless elegance.
A Brief History of Subway Tile: From Underground to Understated Chic
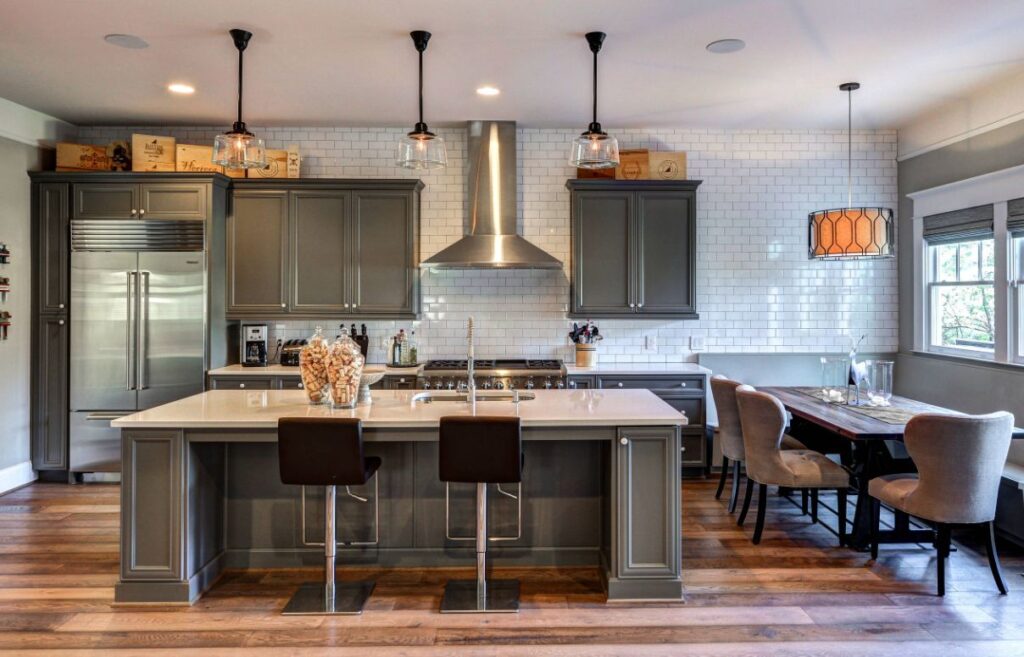
The story of subway tile begins in 1904, when architects George C. Heins and Christopher Grant La Farge were tasked with designing the interiors of New York City’s first subway stations. They sought a material that was not only durable and easy to clean but also aesthetically pleasing and resistant to vandalism. The answer? A small, glazed rectangular tile, measuring approximately 3 inches by 6 inches, which quickly became known as “subway tile.”
The tile’s glossy surface reflected light, brightening the often-dim subway stations, while its smooth, non-porous surface made it easy to wipe away dirt and graffiti. Its simple, clean design was both functional and aesthetically pleasing, contributing to the overall sense of cleanliness and order. The popularity of subway tile soon spread beyond the subway system, finding its way into bathrooms, kitchens, and other public spaces.
Over the years, subway tile has undergone numerous transformations, adapting to evolving design trends. While the classic white 3×6 tile remains a popular choice, countless variations are now available, including different sizes, colors, materials, and finishes. From matte black to shimmering metallics, there’s a subway tile to suit every taste and style.
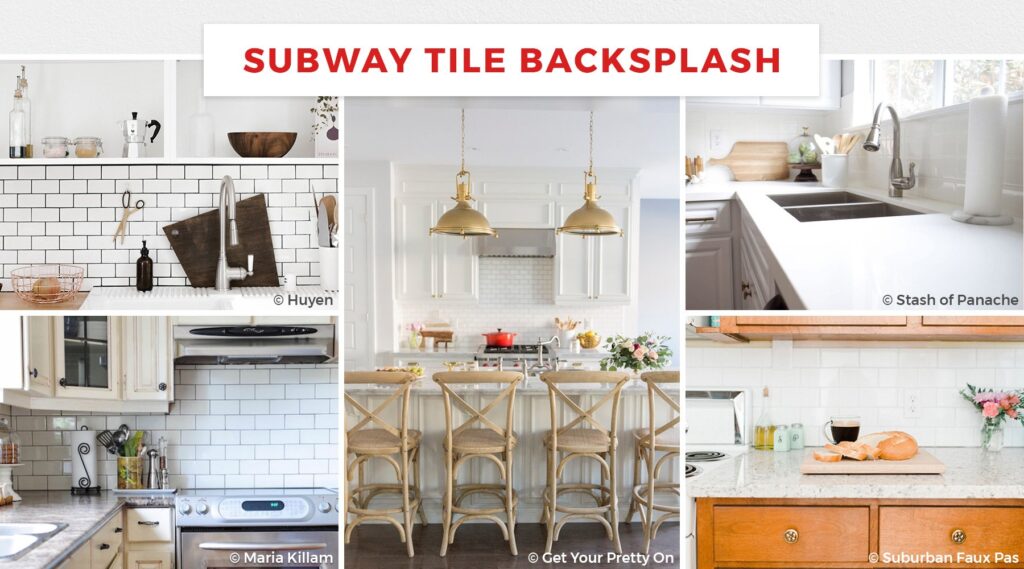
Exploring Subway Tile Kitchen Design Ideas
The beauty of subway tile lies in its versatility. It’s a remarkably adaptable material that can be used in a variety of ways to create different looks and feels. Here are some inspiring subway tile kitchen design ideas to spark your creativity:
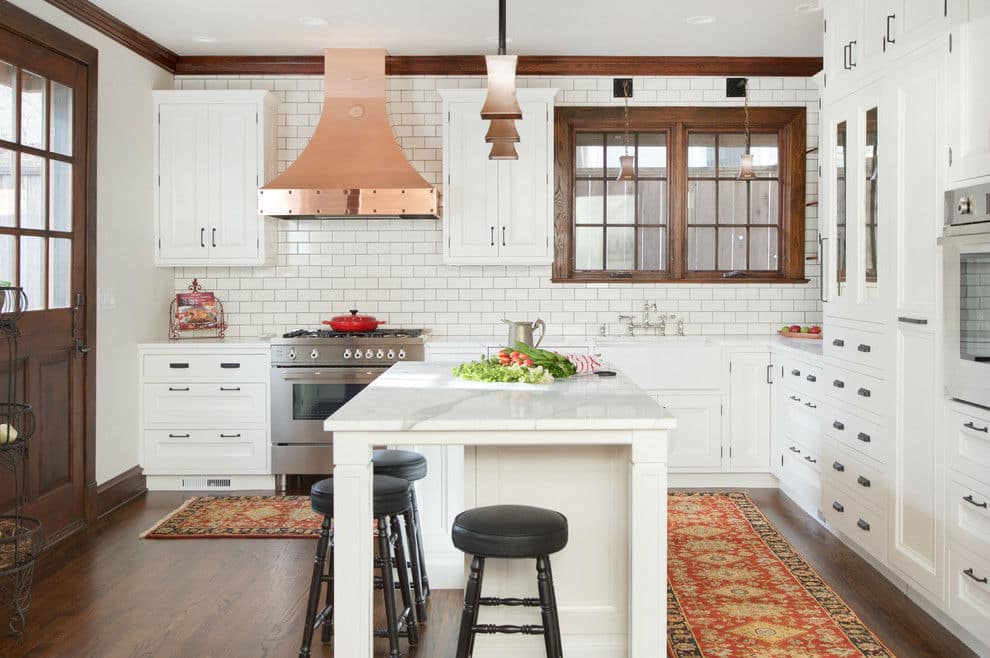
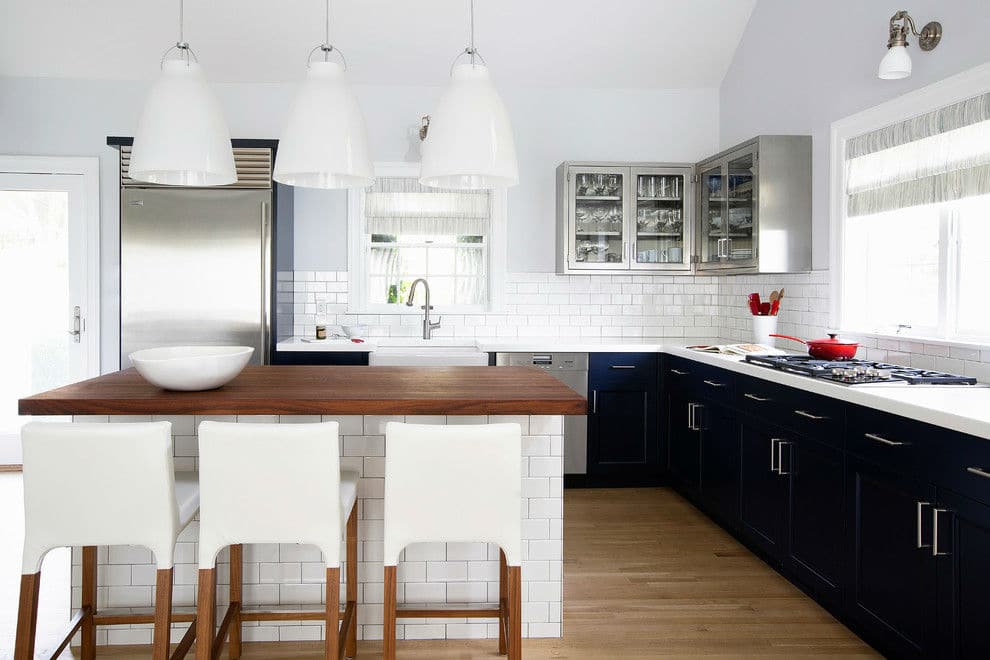
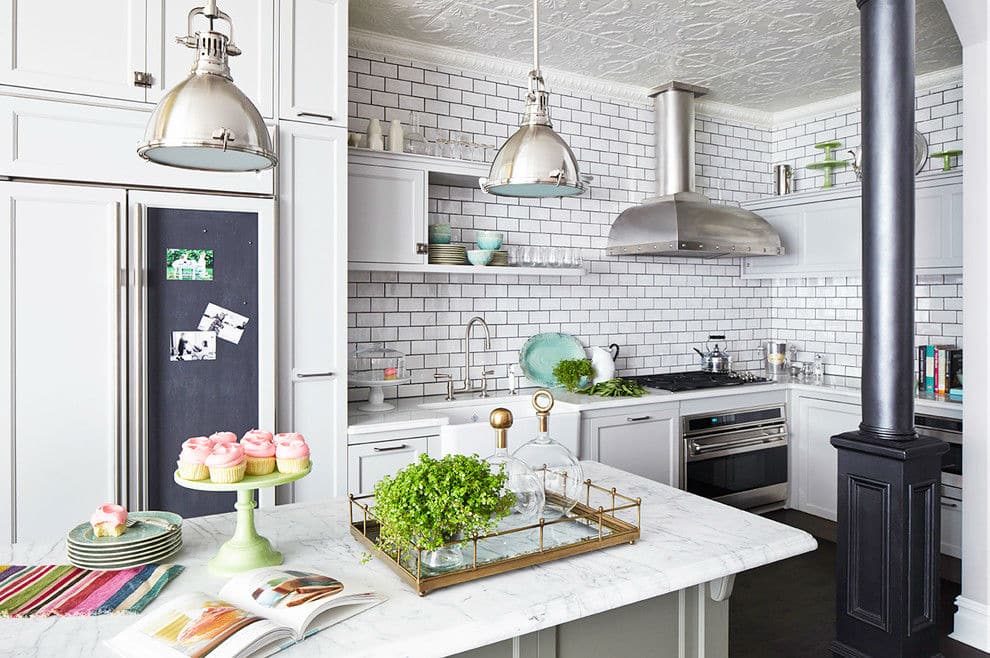
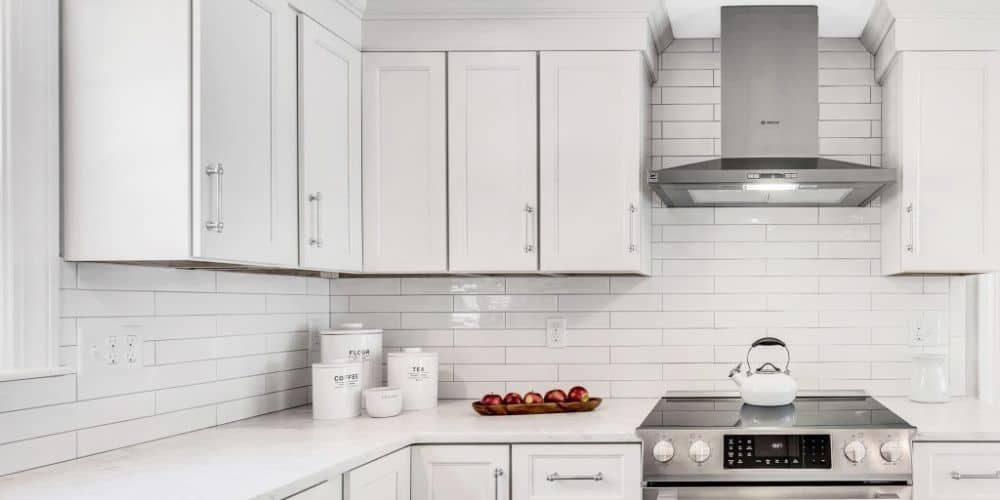
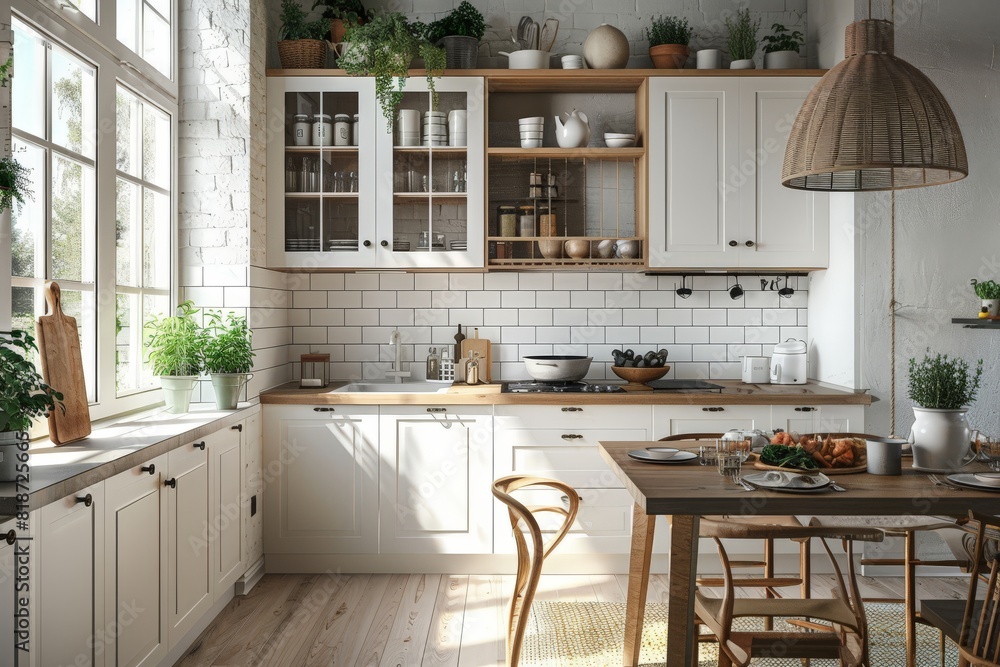
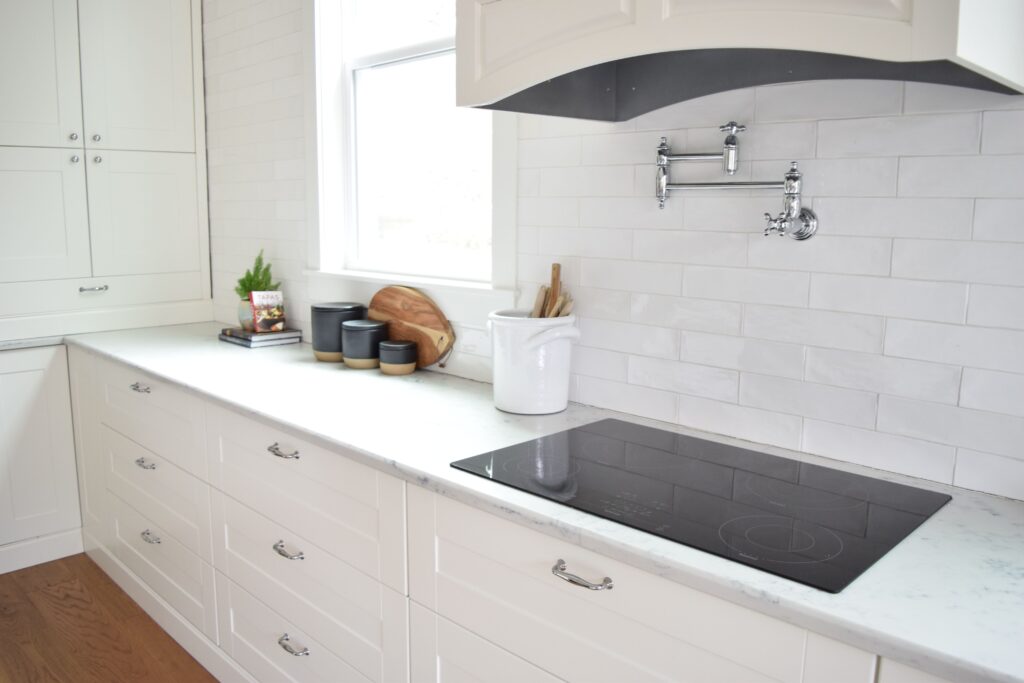
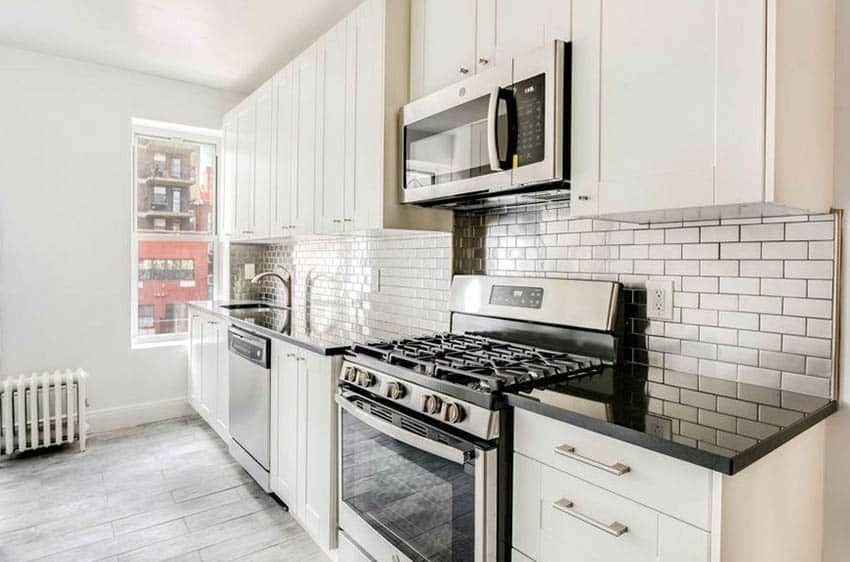
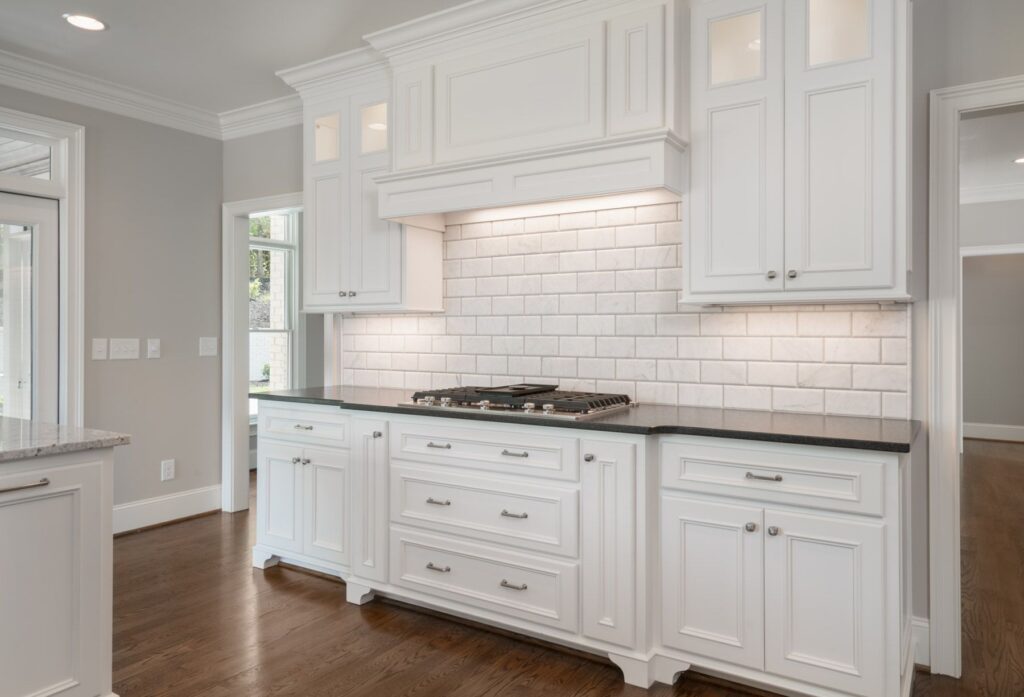
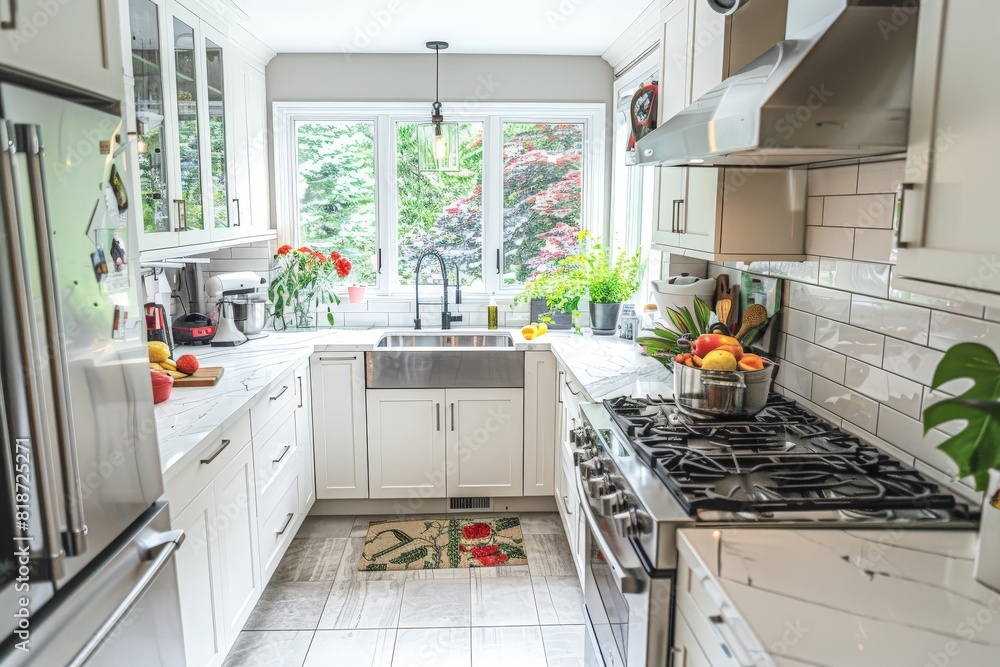
1. Classic White Subway Tile: Timeless and Elegant
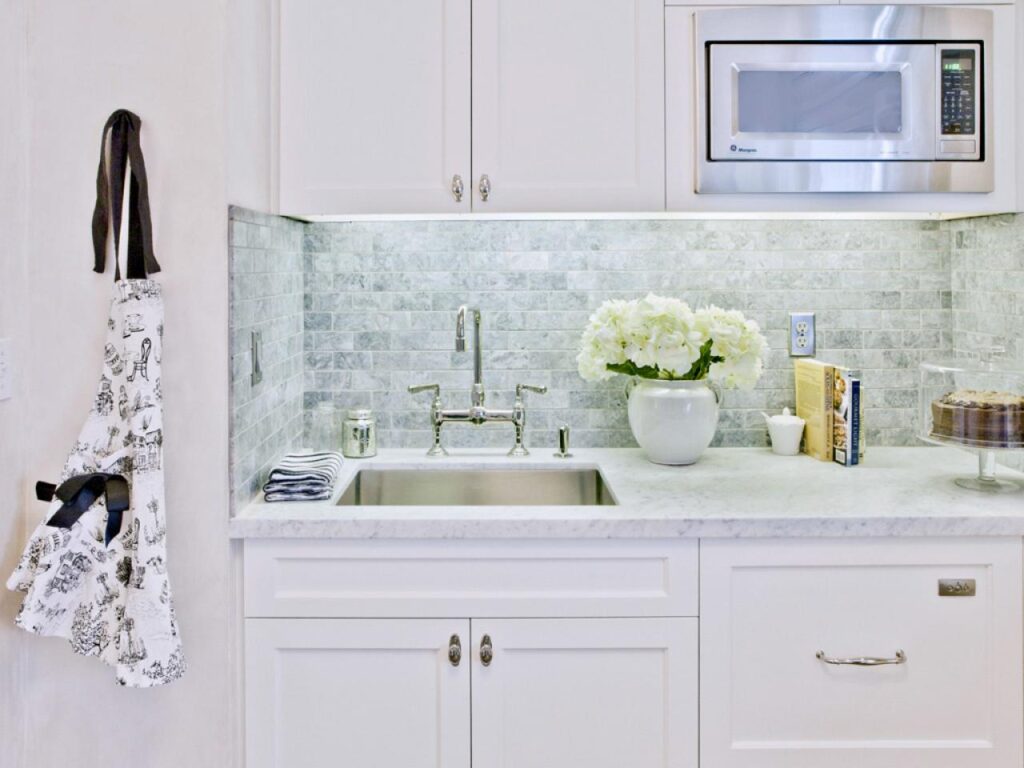
The classic white 3×6 subway tile is a timeless choice that never goes out of style. Its clean, simple lines and bright, neutral color create a sense of spaciousness and airiness, making it ideal for small kitchens. White subway tile also provides a versatile backdrop for other design elements, allowing you to experiment with different colors, textures, and accessories.
Grout Matters: The choice of grout color can significantly impact the overall look of your white subway tile backsplash. White grout creates a seamless, minimalist look, while darker grout, such as gray or black, adds contrast and highlights the tile’s individual shape. Experiment with different grout colors to achieve your desired effect.
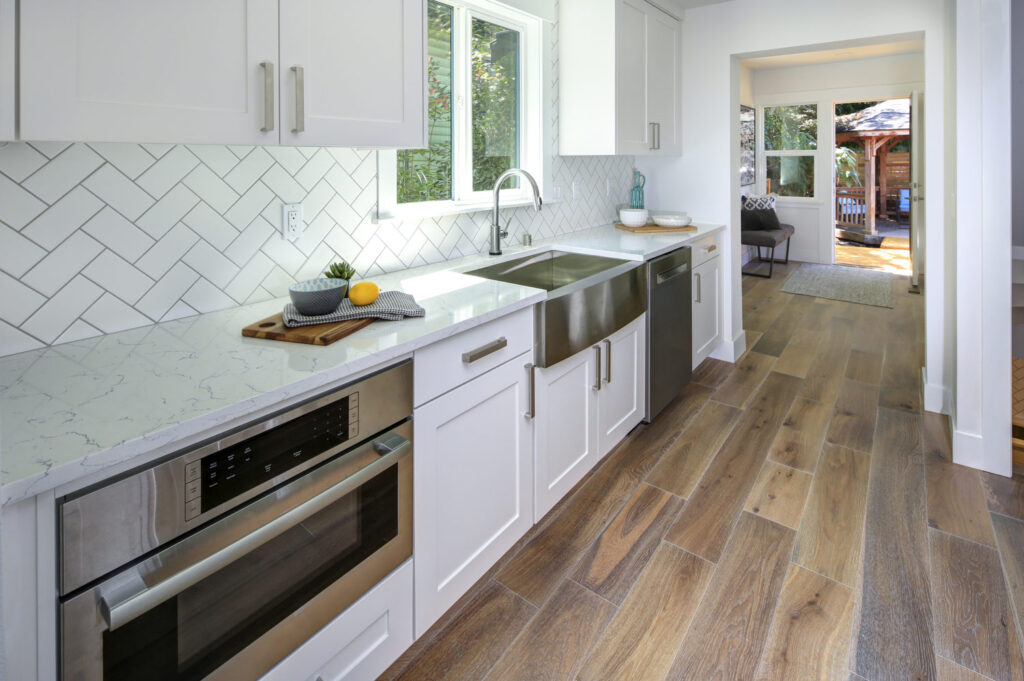
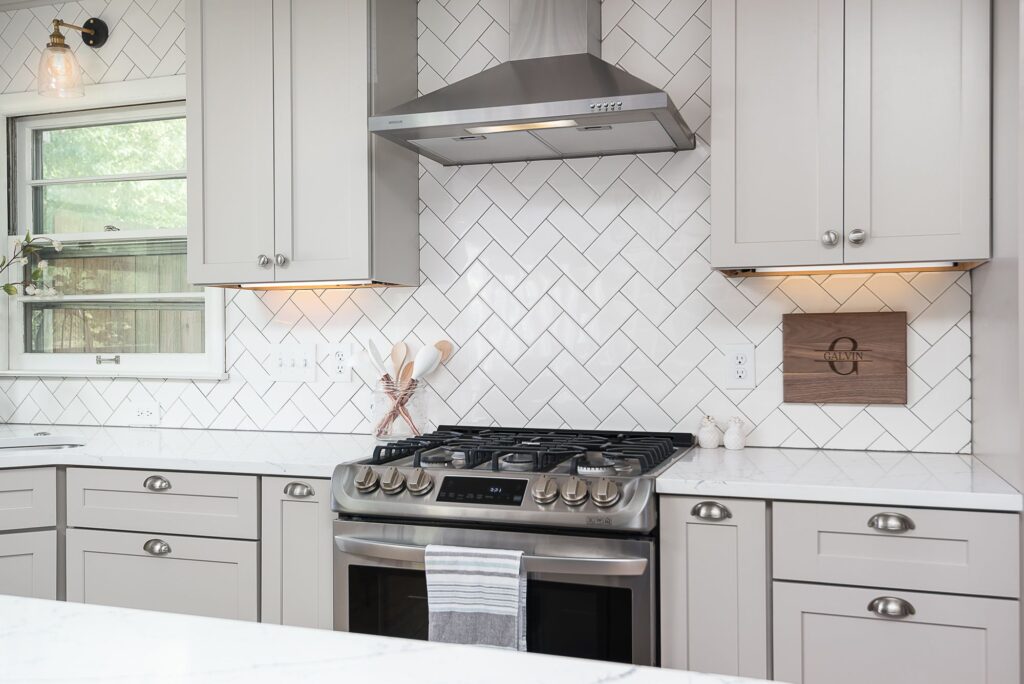
Layout Variations: While the traditional horizontal layout is a classic choice, consider exploring other options, such as vertical, herringbone, or stacked patterns, to add visual interest and personality to your backsplash. A vertical layout can elongate the space, while a herringbone pattern adds a touch of sophistication.
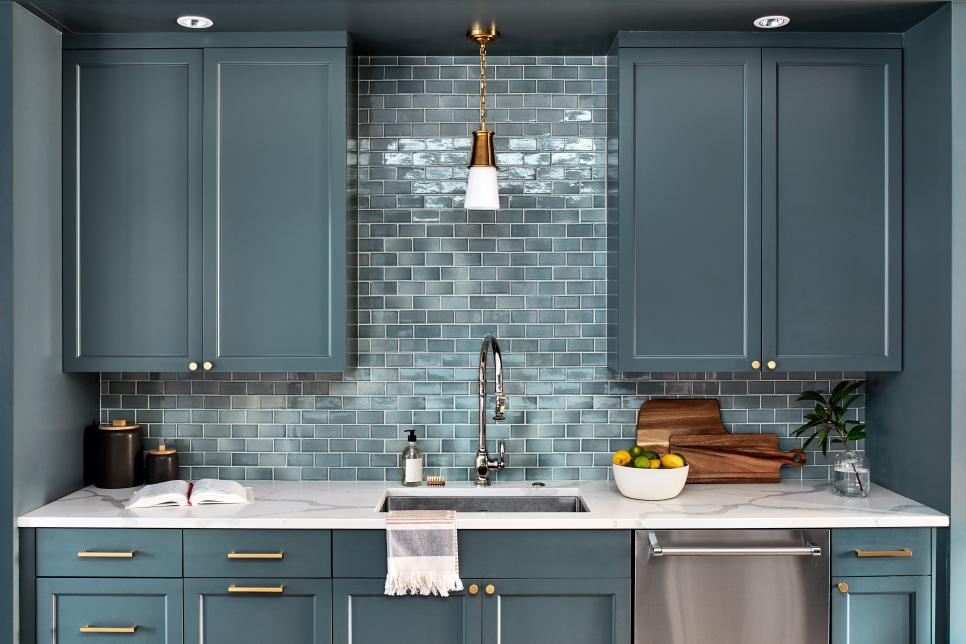
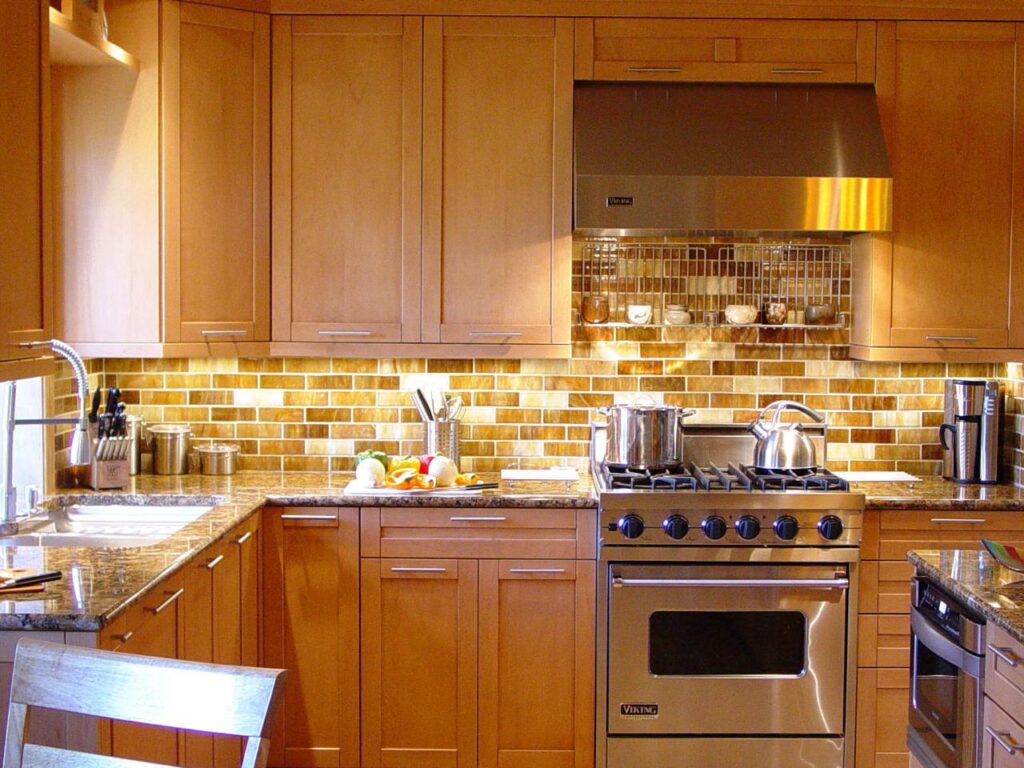
2. Colored Subway Tile: Adding Personality and Flair
If you’re looking to add a pop of color to your kitchen, colored subway tile is an excellent choice. From soft pastels to bold jewel tones, the possibilities are endless. Choose a color that complements your existing kitchen decor or create a striking contrast for a more dramatic effect. Consider using a single color for a uniform look or mixing different colors for a playful, eclectic vibe.
Think Beyond the Backsplash: Colored subway tile isn’t limited to backsplashes. Consider using it to create a feature wall, clad an island, or even cover an entire kitchen wall for a truly unique and impactful design statement. Don’t be afraid to go bold!
Consider the Undertones: When choosing a colored subway tile, pay attention to its undertones. Warm colors, such as reds, oranges, and yellows, create a cozy and inviting atmosphere, while cool colors, such as blues, greens, and purples, evoke a sense of calm and tranquility. Select colors that complement your kitchen’s overall color palette and create the desired mood.
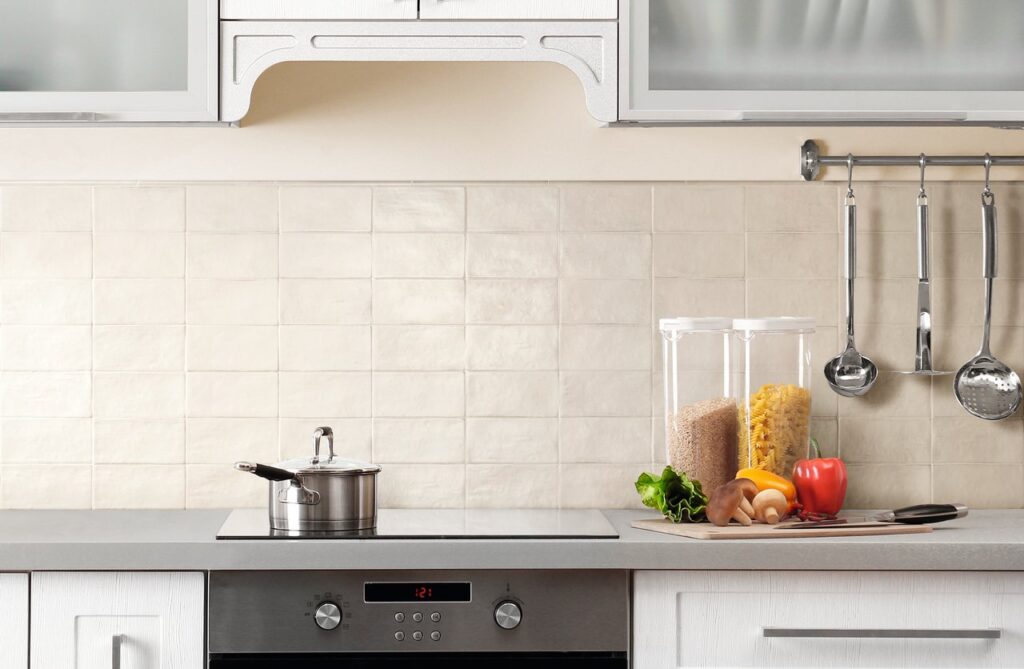
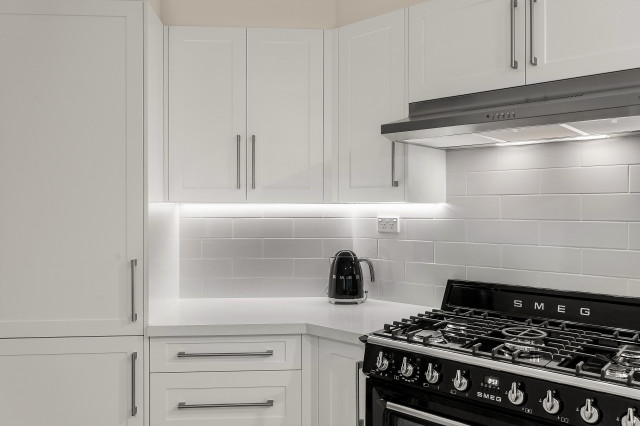
3. Gray Subway Tile: A Sophisticated Neutral
Gray subway tile is a sophisticated and versatile neutral that adds a touch of elegance to any kitchen. It’s a great alternative to white, offering a slightly warmer and more inviting feel. Gray subway tile pairs well with a variety of cabinet colors, countertops, and hardware finishes, making it a flexible choice for any kitchen design.
Light vs. Dark Gray: The shade of gray you choose can significantly impact the overall look of your kitchen. Light gray subway tile creates a bright and airy feel, while dark gray adds drama and sophistication. Consider the size and natural light of your kitchen when choosing a shade of gray.
Textured Gray: Look for gray subway tile with subtle texture. A slightly uneven surface adds visual interest and depth, preventing the tile from looking flat or monotonous. Variations in texture can really elevate the design.

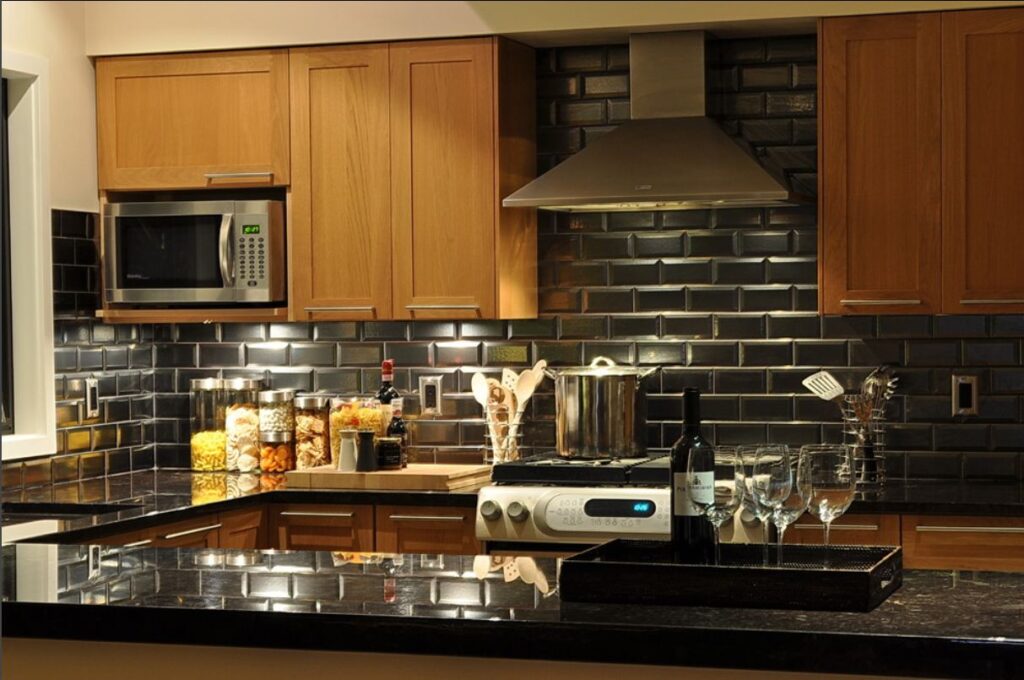
4. Black Subway Tile: Bold and Dramatic
Black subway tile is a bold and dramatic choice that adds a touch of modern sophistication to any kitchen. It’s perfect for creating a high-contrast look, especially when paired with white cabinets and countertops. Black subway tile can also be used to create a moody and intimate atmosphere, making it ideal for smaller kitchens or breakfast nooks.
Balance is Key: When using black subway tile, it’s important to balance it with lighter elements to prevent the kitchen from feeling too dark or oppressive. White cabinets, light countertops, and ample lighting are essential for creating a balanced and visually appealing space.
Matte vs. Glossy: Matte black subway tile has a more subtle and understated look, while glossy black tile reflects light and adds a touch of glamour. Consider the overall aesthetic of your kitchen when choosing a finish.
5. Glass Subway Tile: A Touch of Sparkle
Glass subway tile adds a touch of sparkle and glamour to any kitchen. Its reflective surface bounces light around the room, creating a bright and airy feel. Glass subway tile is available in a wide range of colors and finishes, allowing you to create a truly unique and eye-catching backsplash.

Color Variations: Look for glass subway tile with subtle color variations. These variations add depth and dimension to the tile, preventing it from looking flat or monotonous. The slight imperfections are what make it so appealing.

Easy to Clean: Glass subway tile is incredibly easy to clean, making it a practical choice for kitchens. Simply wipe away spills and splatters with a damp cloth.

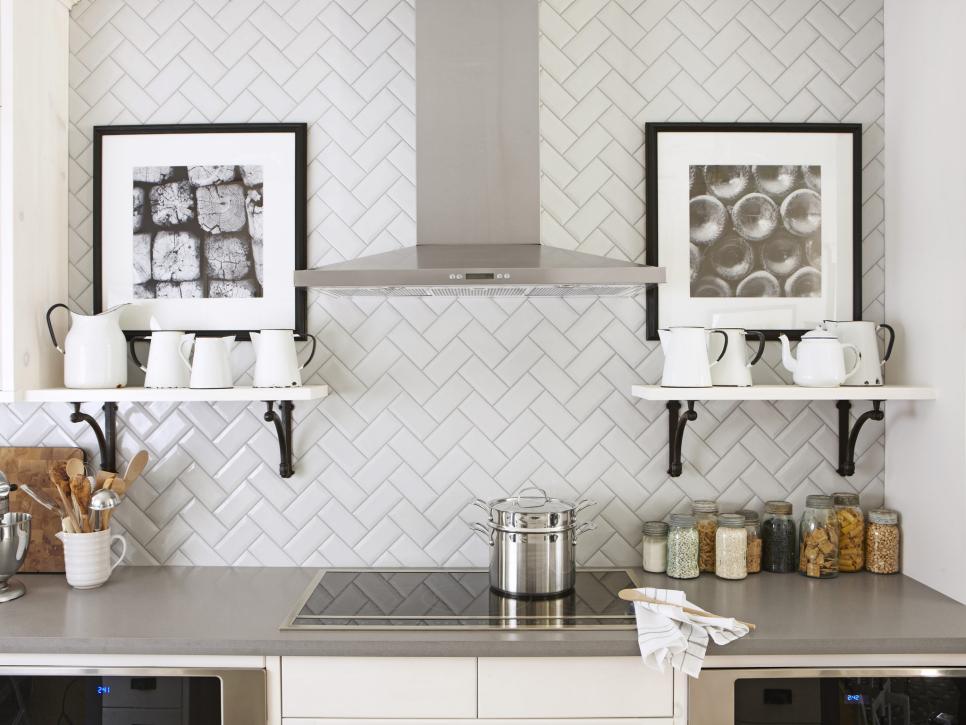
6. Herringbone Pattern: Adding Visual Interest
The herringbone pattern is a classic and elegant layout that adds a touch of sophistication to any kitchen. It involves arranging the subway tiles in a staggered, V-shaped pattern, creating a dynamic and visually interesting effect. The herringbone pattern works well with both classic white subway tile and colored tiles.
Placement Matters: Consider the size and shape of your backsplash area when deciding whether to use a herringbone pattern. It may look best in larger spaces where the pattern can be fully appreciated.

Professional Installation: Installing a herringbone pattern can be more challenging than a traditional horizontal layout. Consider hiring a professional installer to ensure a precise and flawless finish.
7. Stacked Subway Tile: A Modern Twist
The stacked subway tile layout is a modern twist on the classic horizontal arrangement. It involves stacking the tiles vertically, creating a clean and minimalist look. The stacked layout works well with both classic white subway tile and colored tiles, adding a contemporary touch to any kitchen.
Minimalist Design: This style really shines in a minimalist design scheme, allowing the simple lines of the tile to take center stage.
Grout Lines: Pay close attention to the grout lines when installing a stacked subway tile layout. Uniform and precise grout lines are essential for achieving a clean and polished look.
Choosing the Right Subway Tile for Your Kitchen
With so many options available, choosing the right subway tile for your kitchen can feel overwhelming. Here are some factors to consider:
1. Size and Shape
While the classic 3×6 subway tile is a popular choice, other sizes and shapes are available, including 2×4, 4×8, and even square tiles. Consider the size and shape of your backsplash area when choosing a tile size. Larger tiles can make a small kitchen feel more spacious, while smaller tiles can add detail and texture to a larger space.
2. Material
Subway tile is typically made from ceramic or porcelain, but other materials, such as glass, stone, and metal, are also available. Ceramic and porcelain are durable, affordable, and easy to clean, making them ideal for kitchens. Glass tile adds a touch of sparkle, while stone and metal tile offer a more rustic or industrial look.
3. Finish
Subway tile is available in a variety of finishes, including glossy, matte, and textured. Glossy tile reflects light, creating a bright and airy feel, while matte tile has a more subtle and understated look. Textured tile adds visual interest and depth.
4. Color
Choose a color that complements your existing kitchen decor and creates the desired mood. White is a classic and versatile choice, while colored tiles can add personality and flair. Consider the undertones of the color and how they will interact with other colors in your kitchen.

5. Budget
Subway tile is generally an affordable option, but prices can vary depending on the material, size, and finish. Set a budget before you start shopping and stick to it. Remember to factor in the cost of installation, grout, and other supplies.
Installation Tips for Subway Tile
Installing subway tile can be a DIY project, but it requires careful planning and execution. Here are some essential installation tips:
1. Prepare the Surface
Ensure that the surface is clean, smooth, and level before you begin tiling. Remove any existing wallpaper, paint, or debris. Repair any cracks or holes with patching compound. Prime the surface with a tile primer to improve adhesion.

2. Plan Your Layout
Before you start tiling, plan your layout carefully. Use a level and a measuring tape to mark the starting point and the tile placement. Dry-fit the tiles to ensure a proper fit and identify any areas that may require cutting.
3. Apply Adhesive
Apply a thin, even layer of tile adhesive to the surface using a notched trowel. The size of the notch will depend on the size of the tile. Work in small sections to prevent the adhesive from drying out.
4. Set the Tiles
Press the tiles firmly into the adhesive, using a slight twisting motion to ensure good contact. Use tile spacers to maintain consistent grout lines. Clean off any excess adhesive with a damp sponge.

5. Cut the Tiles
Use a tile cutter or a wet saw to cut the tiles as needed. Measure accurately and cut carefully to ensure a clean and precise fit.
6. Grout the Tiles
Allow the adhesive to dry completely before grouting. Remove the tile spacers and apply grout to the grout lines using a grout float. Work the grout into the joints, ensuring they are completely filled. Clean off any excess grout with a damp sponge.

7. Seal the Grout
Once the grout has dried completely, seal it with a grout sealer to protect it from stains and moisture. Apply the sealer according to the manufacturer’s instructions.
Maintaining Your Subway Tile Kitchen
Subway tile is relatively easy to maintain, but regular cleaning is essential to keep it looking its best. Here are some maintenance tips:
1. Clean Regularly
Wipe down the subway tile with a damp cloth or sponge after each use to remove spills and splatters. Use a mild soap or detergent for tougher stains.
2. Avoid Abrasive Cleaners
Avoid using abrasive cleaners or scouring pads, as they can scratch the surface of the tile.
3. Clean the Grout
Clean the grout regularly to prevent stains and mildew. Use a grout brush and a grout cleaner to scrub the grout lines. You can also use a mixture of baking soda and water to clean the grout.
4. Seal the Grout Regularly
Re-seal the grout every year or two to protect it from stains and moisture.
Conclusion: The Subway Tile Kitchen – A Timeless Investment
Subway tile is more than just a design trend; it’s a timeless classic that has proven its enduring appeal for over a century. Its versatility, affordability, and durability make it an excellent choice for any kitchen. Whether you prefer a classic white backsplash or a bold, colorful statement wall, subway tile offers endless possibilities for creating a stunning and functional kitchen space. By carefully considering the size, material, finish, and color of your subway tile, and by following proper installation and maintenance techniques, you can create a kitchen that is both beautiful and long-lasting. So, embrace the enduring allure of subway tile and transform your kitchen into a space that is both stylish and timeless.


