Nimila

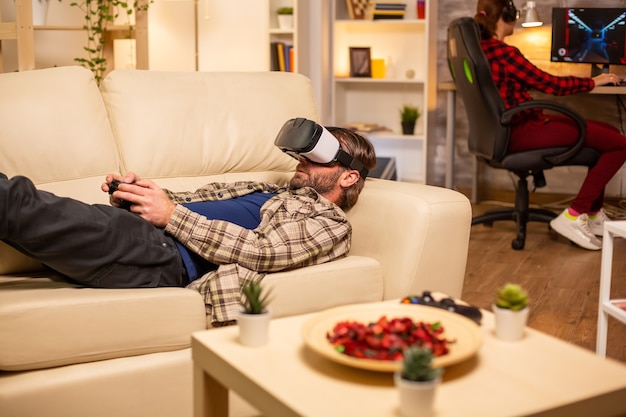
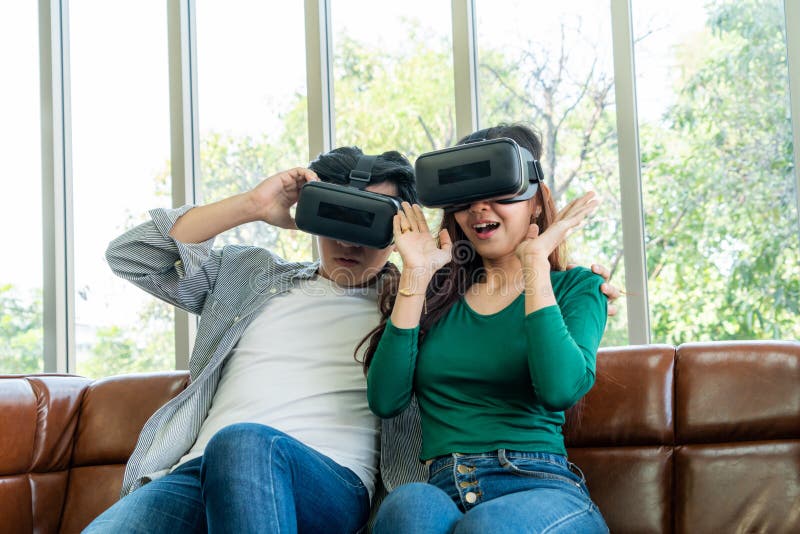
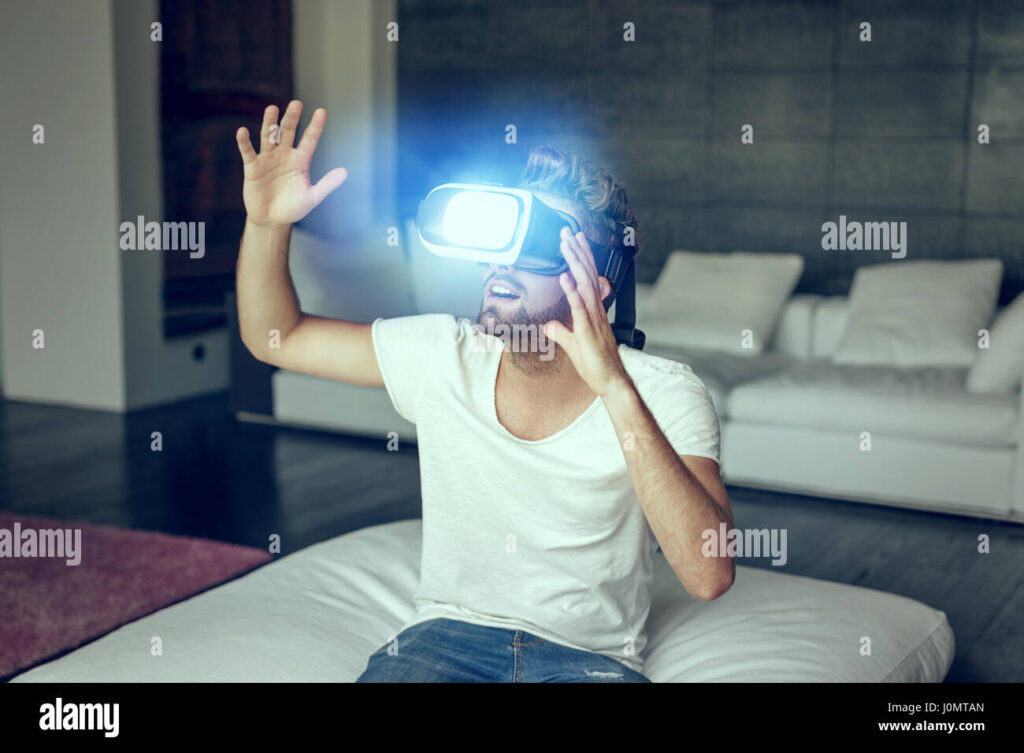
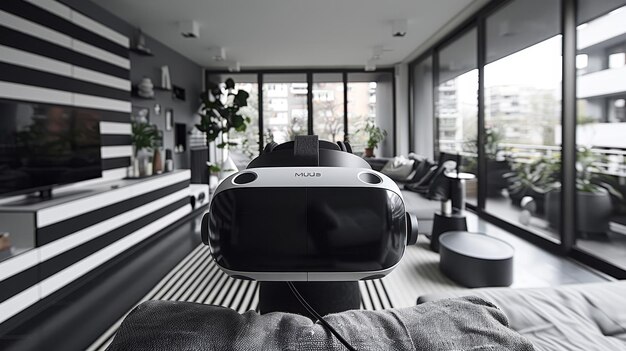
Transform Your Living Room into a Virtual Reality Paradise
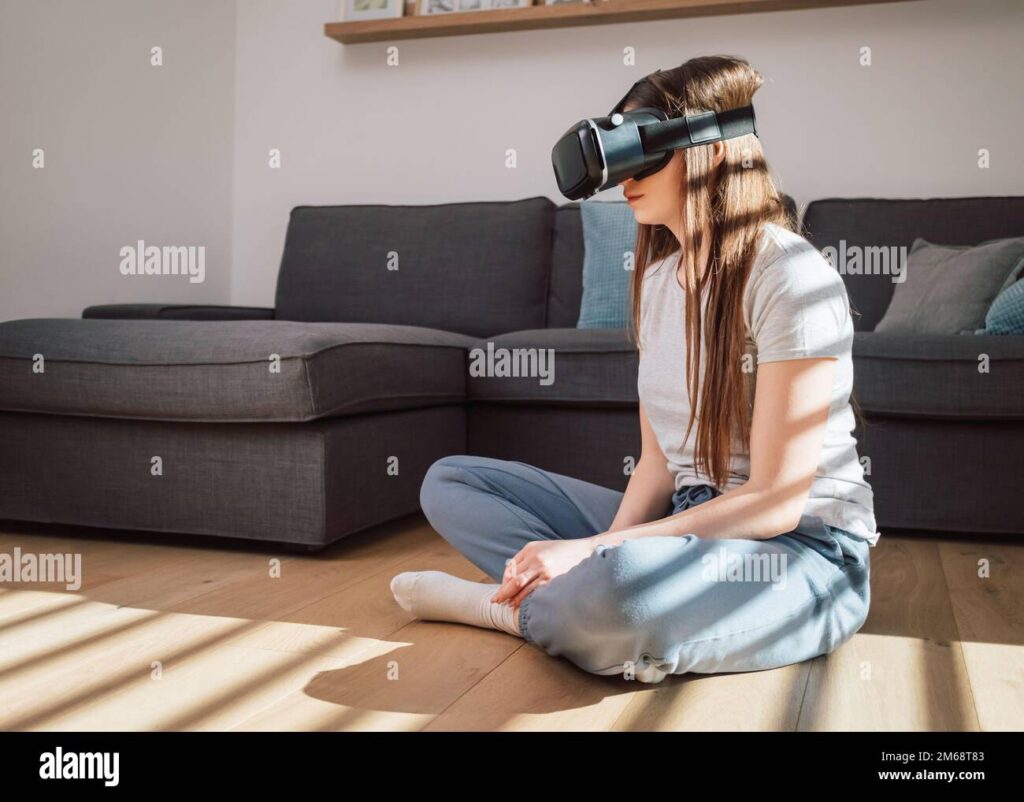
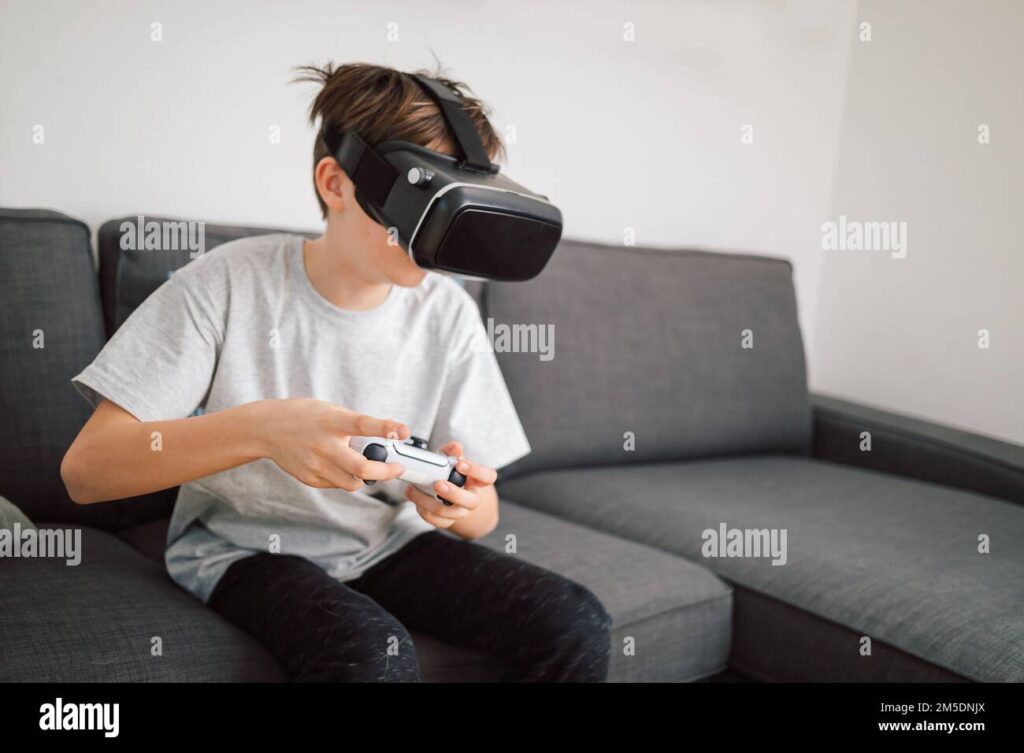
Virtual Reality (VR) has evolved from a futuristic fantasy into a tangible reality, bringing immersive experiences to our homes. While dedicated VR spaces are ideal, the living room often becomes the battleground for our virtual adventures. Turning your living room into a VR-ready zone requires careful planning and setup, but the payoff—unparalleled immersion and entertainment—is well worth the effort. This comprehensive guide will walk you through every step, from choosing the right headset to optimizing your space for seamless, captivating VR experiences.
Choosing the Right VR Headset: A Crucial First Step
Before you even think about rearranging furniture, you need to select the right VR headset. The market offers a dizzying array of options, each with its own strengths and weaknesses. Consider these key factors:
- Tethered vs. Standalone: Tethered headsets, like the Oculus Rift S (though discontinued, used as an example for its type) or HTC Vive, connect to your PC via cables, offering superior processing power and graphical fidelity. Standalone headsets, such as the Meta Quest 3, are self-contained units with built-in processors and batteries, providing greater freedom of movement.
- Tracking Technology: Inside-out tracking uses cameras on the headset to track your movements, eliminating the need for external sensors. Outside-in tracking, employed by older systems like the original HTC Vive, requires base stations placed around the room. Inside-out tracking is generally more convenient for living room setups.
- Resolution and Refresh Rate: Higher resolution means sharper visuals and a more immersive experience. Aim for at least 1440×1600 pixels per eye. Refresh rate, measured in Hertz (Hz), determines how smoothly the image is displayed. A higher refresh rate (90Hz or above) reduces motion sickness.
- Field of View (FOV): FOV refers to the extent of the virtual world you can see at any given time. A wider FOV (100 degrees or more) enhances immersion.
- Comfort: Extended VR sessions require a comfortable headset. Look for adjustable straps, breathable materials, and a balanced weight distribution.
- Ecosystem and Content Library: Consider the available games, apps, and experiences for each platform. The Meta Quest store, for example, has a vast library of content.
Ultimately, the best VR headset for you depends on your budget, gaming PC specifications (if applicable), and preferred level of portability. Read reviews, watch comparison videos, and, if possible, try out different headsets before making a purchase.
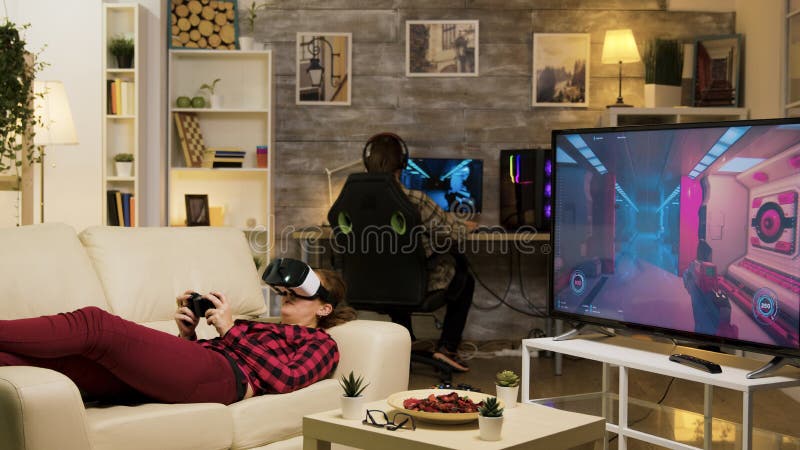
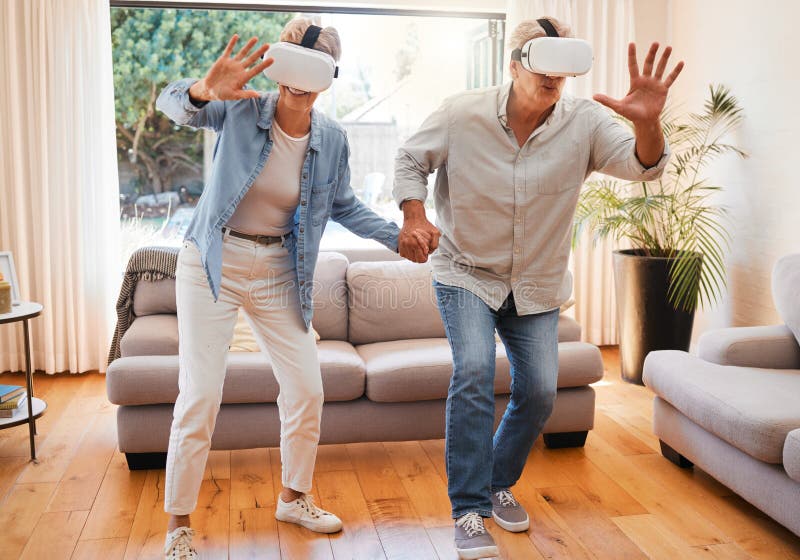
Preparing Your Living Room: Space Optimization is Key
Once you have your VR headset, the next step is to prepare your living room. VR requires a clear, obstacle-free space to allow for natural movement and prevent accidents. Here’s how to optimize your living room for VR:

Clearing the Area: Safety First!
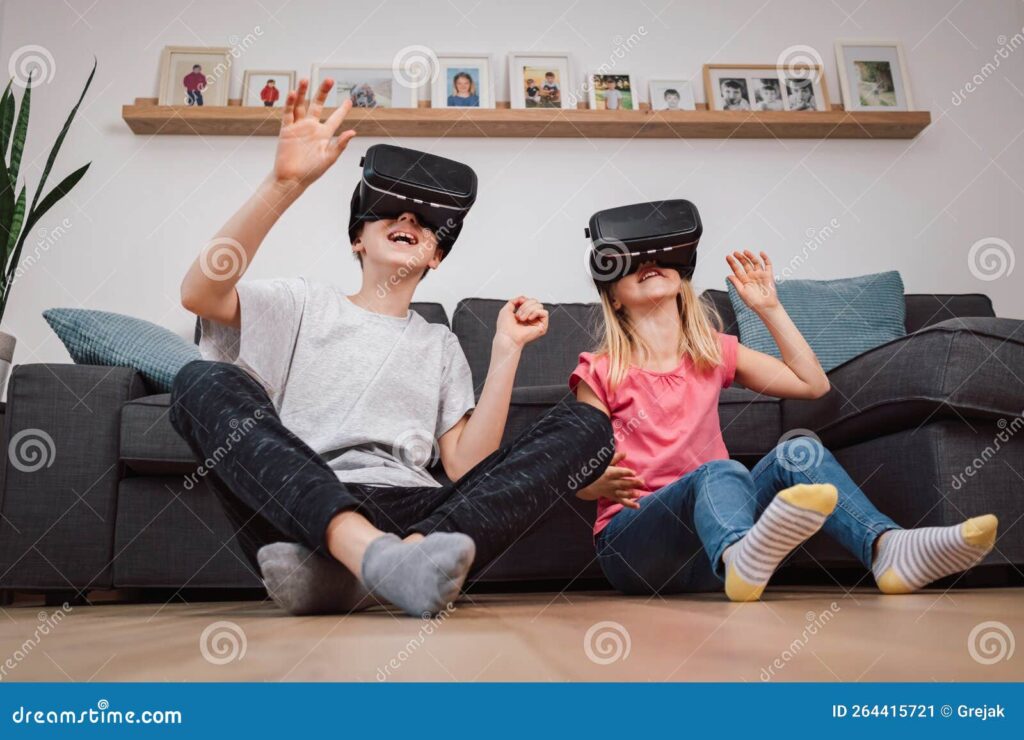
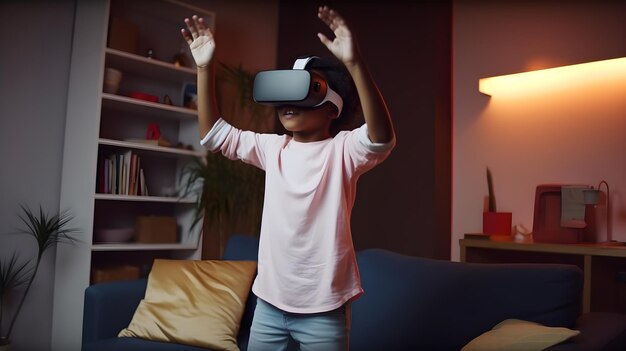
This is the most crucial step. Remove any furniture, rugs, or objects that could pose a tripping hazard. This includes coffee tables, lamps, decorative items, and even pets (ensure they are safely contained elsewhere during VR sessions). Aim for a clear, rectangular space that’s at least 6.5ft x 6.5ft (2m x 2m) for room-scale VR. Even if you plan to primarily use seated VR experiences, having some open space allows for occasional standing or light movement without the risk of bumping into things.
Cable Management: Taming the Cord Chaos (If Applicable)
Tethered VR headsets can create a tangled mess of cables. Implement effective cable management to prevent tripping and ensure a smooth experience. Consider these options:
- Ceiling-Mounted Cable Management System: Suspends the cable from the ceiling, keeping it out of your way.
- Cable Clips and Ties: Secure the cable along walls or furniture legs.
- Retractable Cable Reels: Automatically retract the cable when not in use.
- Use a rug or carpet to cover cable: This will help to hide the cable and prevent tripping.
While standalone headsets eliminate the cable problem, it’s still a good idea to organize charging cables and accessories to keep your living room tidy.
Lighting: Finding the Sweet Spot
Lighting can significantly impact VR tracking. Too much light can cause glare and interfere with the headset’s sensors, while too little light can make it difficult for the headset to track your movements accurately. Aim for soft, indirect lighting. Avoid direct sunlight or bright overhead lights. If possible, use dimmer switches to adjust the lighting to the optimal level for VR. Some headsets are less sensitive to lighting conditions than others, so experiment to find what works best for your setup.

Flooring: Comfort and Traction
The type of flooring in your living room can affect your VR experience. Hardwood floors can be slippery, while thick carpets can make it difficult to move around. A thin, non-slip rug or mat can provide a comfortable and safe surface for VR. If you have hardwood floors, consider wearing socks or shoes with good traction. A dedicated VR mat can also help you stay centered in your play space and prevent you from drifting too far.
Protecting Your Surroundings: Prevent Accidental Damage
Accidents happen, especially when you’re immersed in a virtual world. Protect your furniture and walls from accidental bumps by using foam padding or corner protectors. Consider using a wrist strap for your controllers to prevent them from flying across the room during intense gaming sessions. You might also want to invest in a protective cover for your VR headset to prevent scratches and damage.
Setting Up Your VR Headset: A Step-by-Step Guide
With your living room prepared, it’s time to set up your VR headset. The setup process varies depending on the headset, but these are the general steps:
Connecting the Headset (If Tethered)
Connect the headset to your PC according to the manufacturer’s instructions. This typically involves plugging in HDMI and USB cables. Ensure that your PC meets the minimum system requirements for the headset. Install any necessary drivers and software. For standalone headsets, skip this step.
Installing Tracking Sensors (If Required)
If your headset uses external tracking sensors (base stations), position them according to the manufacturer’s instructions. Typically, they should be placed in opposite corners of the room, facing inwards. Ensure that they are securely mounted and within range of the headset. Once mounted, use the headset’s software to configure them.
Defining Your Play Space: Guardian Boundaries
Most VR headsets allow you to define a play space or guardian boundary. This creates a virtual barrier that appears in the headset when you get too close to the edge of your designated area, preventing you from bumping into walls or furniture. Follow the on-screen instructions to trace the boundaries of your play space using the headset’s controllers. Be precise and avoid including any obstacles within the boundary. Redefine the space if you change the furniture arrangement.
Adjusting the Headset: Finding the Perfect Fit
A comfortable fit is essential for a good VR experience. Adjust the straps and lenses to ensure that the headset sits securely and comfortably on your head. The image should be clear and focused. If you wear glasses, you may need to use a lens spacer or purchase prescription lens inserts for the headset. Experiment with different adjustments until you find the perfect fit.
Pairing the Controllers: Establishing the Connection
Pair the controllers with the headset according to the manufacturer’s instructions. This typically involves pressing a button on the controllers while the headset is powered on. Ensure that the controllers are properly tracked and responsive. If you experience tracking issues, try recalibrating the controllers or cleaning the headset’s tracking sensors.
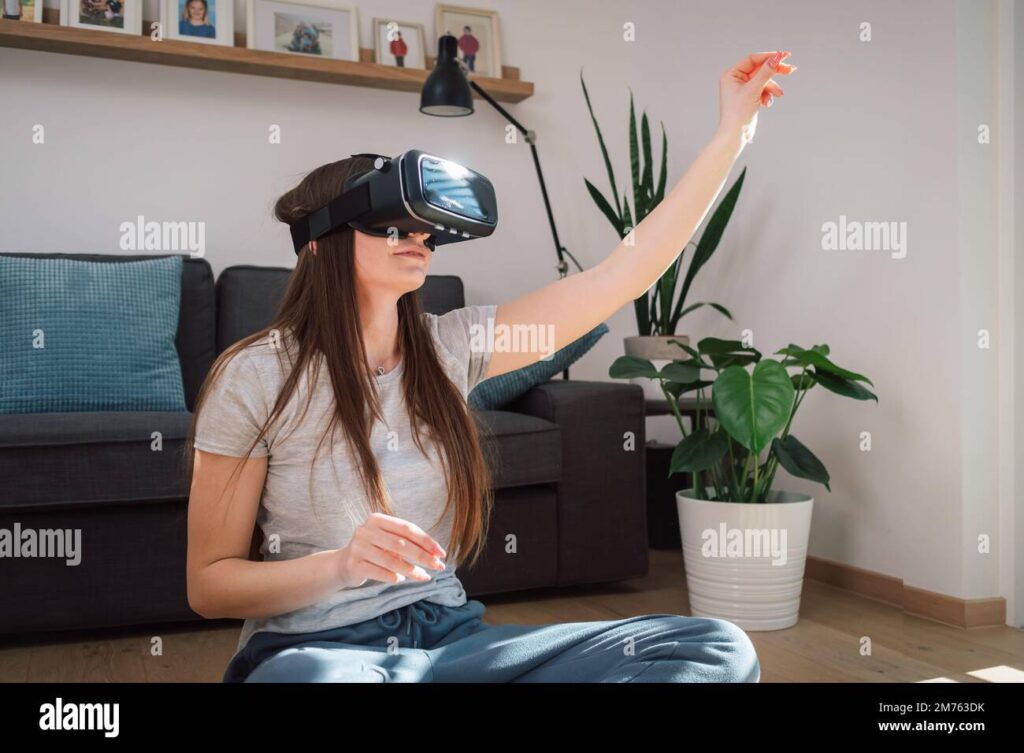
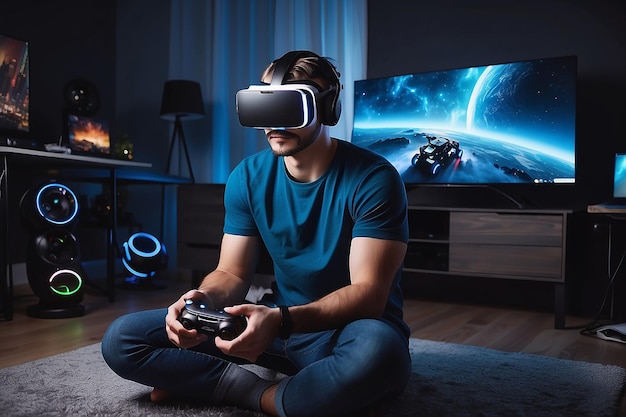
Optimizing Your VR Experience: Fine-Tuning for Immersion
Once your VR headset is set up, it’s time to optimize your experience for maximum immersion. Here are some tips:
Graphics Settings: Balancing Performance and Visual Fidelity
If you’re using a tethered headset, adjust the graphics settings in the VR software to balance performance and visual fidelity. Higher graphics settings can improve the visual quality but may also reduce performance, leading to stuttering or lag. Experiment with different settings until you find a balance that works well for your PC. Consider upgrading your graphics card if you’re struggling to achieve smooth performance.
Audio: Immersive Soundscapes
Audio plays a crucial role in VR immersion. Use headphones to block out external noise and enhance the sense of presence. Over-ear headphones provide the best sound quality and noise isolation. Alternatively, you can use earbuds or VR-specific headphones that attach directly to the headset. Ensure that the audio is properly calibrated and that the sound effects are coming from the correct direction in the virtual world.

Software Updates: Staying Current
Keep your VR headset’s software and drivers up to date. Updates often include performance improvements, bug fixes, and new features. Check for updates regularly and install them promptly. Software updates can also improve compatibility with new games and applications.
Calibrating IPD: Ensuring Visual Clarity
Interpupillary distance (IPD) is the distance between the centers of your pupils. Calibrating the IPD setting on your VR headset ensures that the image is clear and focused for each eye. Most VR headsets have an IPD adjustment knob or slider. Adjust the IPD until the image is sharp and comfortable to view. Incorrect IPD settings can cause eye strain and discomfort.
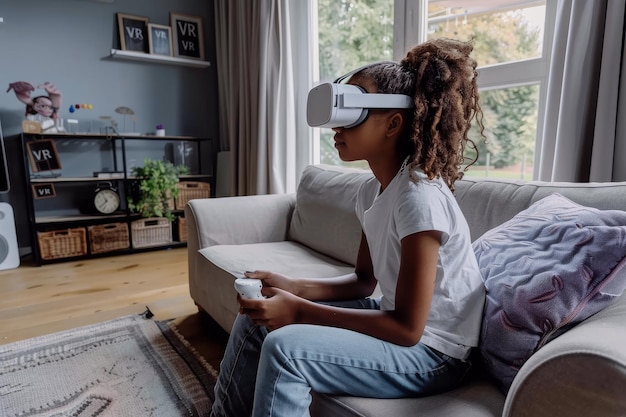
Experimenting with VR Applications: Discovering New Worlds
The best way to optimize your VR experience is to experiment with different games and applications. Explore different genres, try out new features, and find what you enjoy most. The VR ecosystem is constantly evolving, so there’s always something new to discover. Share your experiences with friends and online communities to learn about new and exciting VR content.
Addressing Common VR Issues in the Living Room
Even with careful planning, you may encounter some common VR issues in the living room. Here’s how to address them:
Motion Sickness: Finding Relief
Motion sickness is a common side effect of VR, especially for beginners. It’s caused by a mismatch between what your eyes are seeing and what your body is feeling. Here are some tips to reduce motion sickness:
- Start with Short Sessions: Gradually increase the duration of your VR sessions.
- Use a Fan: A gentle breeze can help reduce motion sickness.
- Take Breaks: Step out of VR and get some fresh air if you start to feel nauseous.
- Ginger: Consume ginger in the form of ginger ale or ginger candies.
- Avoid Fast-Paced Games: Choose games with slow, deliberate movement.
- Adjust Graphics Settings: Lowering the graphics settings can improve performance and reduce motion sickness.
Tracking Problems: Maintaining Accuracy
Tracking problems can disrupt your VR experience. Here are some common causes and solutions:

- Obstructions: Ensure that there are no obstructions blocking the headset’s or controllers’ tracking sensors.
- Lighting: Adjust the lighting in your living room to optimize tracking.
- Reflective Surfaces: Cover or remove any reflective surfaces that could interfere with tracking.
- Controller Batteries: Ensure that the controllers have sufficient battery power.
- Software Updates: Update the headset’s and controllers’ software to the latest version.
- Recalibrate: Recalibrate the headset and controllers according to the manufacturer’s instructions.
Discomfort: Finding the Right Fit
Headset discomfort can ruin your VR experience. Here are some tips to improve comfort:
- Adjust the Straps: Adjust the straps to ensure a snug but comfortable fit.
- Use a Facial Interface: Consider using a replacement facial interface made of breathable materials.
- Lens Spacers: Use lens spacers if you wear glasses.
- Take Breaks: Take breaks to relieve pressure on your face and head.
Technical Glitches: Troubleshooting Steps
Technical glitches can occur with any VR system. Here are some common troubleshooting steps:
- Restart: Restart the headset, controllers, and PC (if applicable).
- Check Connections: Ensure that all cables are securely connected.
- Update Drivers: Update the graphics card drivers and VR software.
- Reinstall Software: Reinstall the VR software if necessary.
- Contact Support: Contact the manufacturer’s support team for assistance.
The Future of VR in the Living Room
VR technology is constantly evolving, and the future of VR in the living room looks bright. Expect to see more advanced headsets with improved resolution, tracking, and comfort. Wireless VR technology will become more prevalent, eliminating the need for cables and providing greater freedom of movement. Augmented Reality (AR) features may also be integrated into VR headsets, allowing you to seamlessly blend virtual and real-world environments. As VR technology becomes more affordable and accessible, it will likely become a mainstream entertainment option in living rooms around the world.
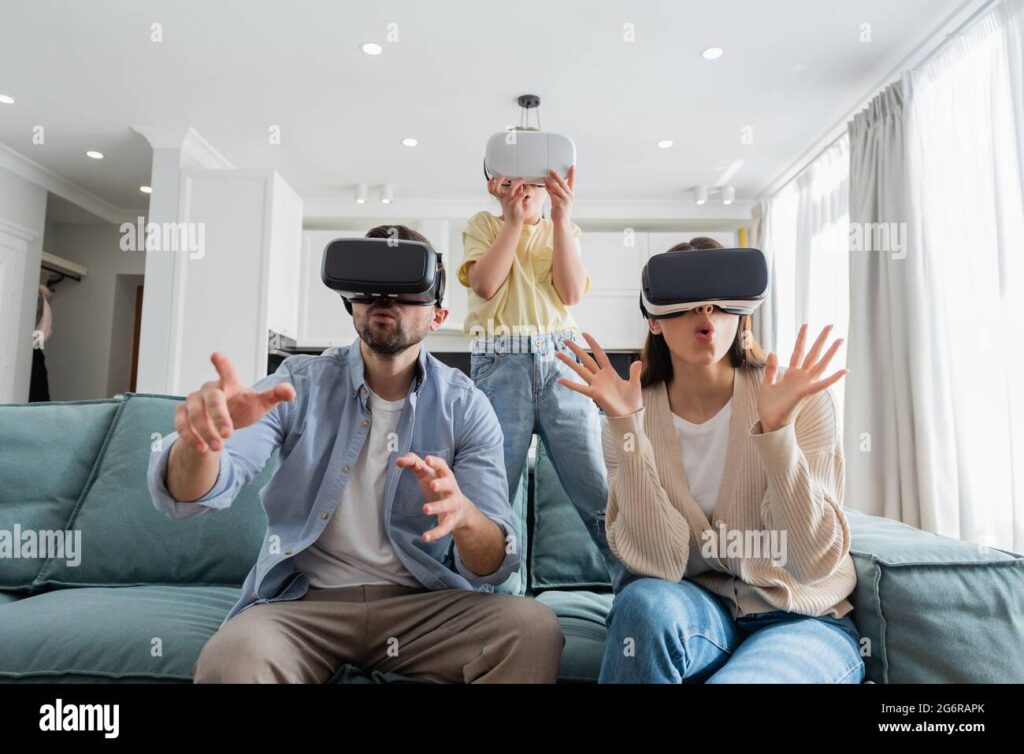
Beyond Gaming: VR Applications for the Living Room
While gaming is a major draw for VR, the possibilities extend far beyond. Consider these other applications for your living room VR setup:

- Virtual Tourism: Explore exotic locations and historical sites from the comfort of your couch.
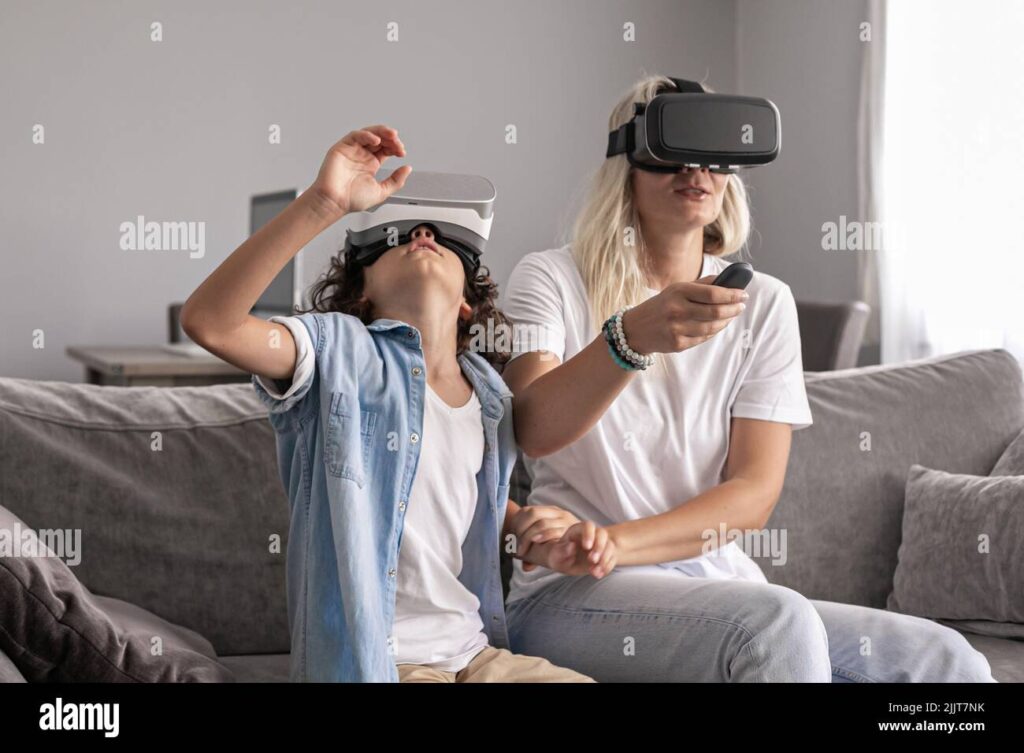
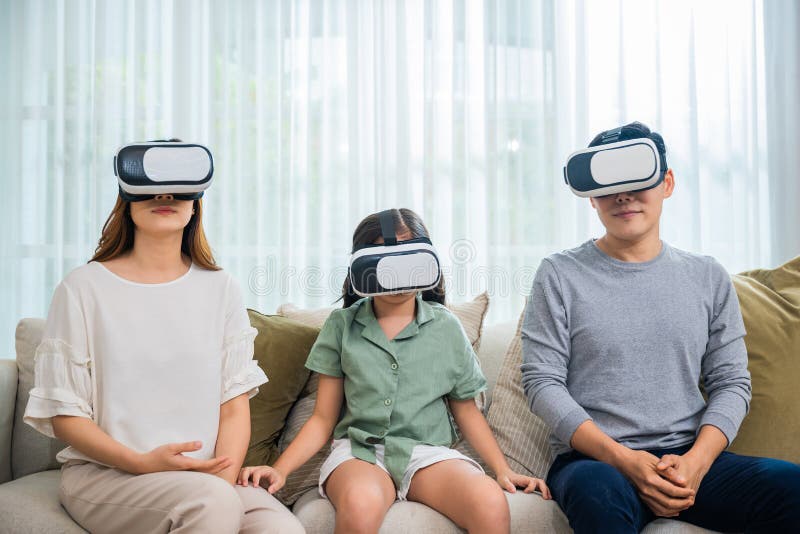
- Social VR: Connect with friends and family in virtual meeting spaces.
- Fitness: Engage in immersive workouts and track your progress.
- Education: Learn new skills and concepts through interactive simulations.
- Creative Tools: Create 3D art, design virtual environments, and collaborate with others.
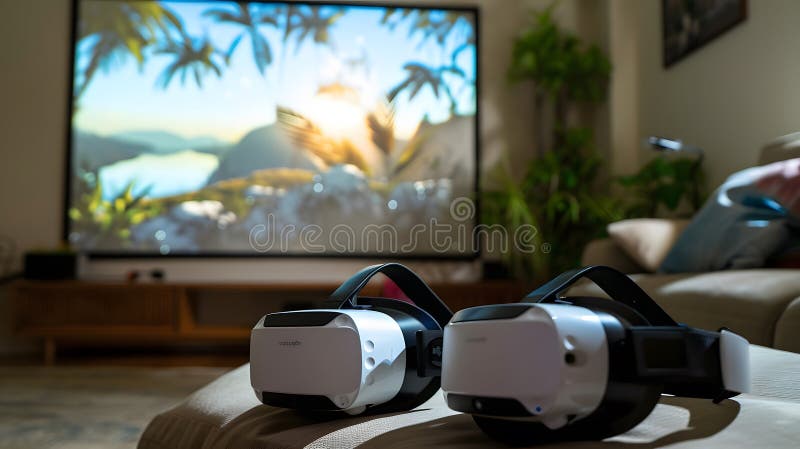
- Movies and Entertainment: Watch movies on a giant virtual screen or experience immersive 360-degree videos.
Conclusion: Embrace the Virtual Revolution
Setting up a VR headset in your living room can transform your entertainment experience, offering unparalleled immersion and interactivity. By carefully preparing your space, choosing the right headset, and optimizing your settings, you can create a virtual reality paradise in the heart of your home. While there may be some challenges along the way, the rewards—unforgettable gaming experiences, immersive entertainment, and new ways to connect with others—are well worth the effort. So, embrace the virtual revolution and unlock the limitless possibilities of VR in your living room!